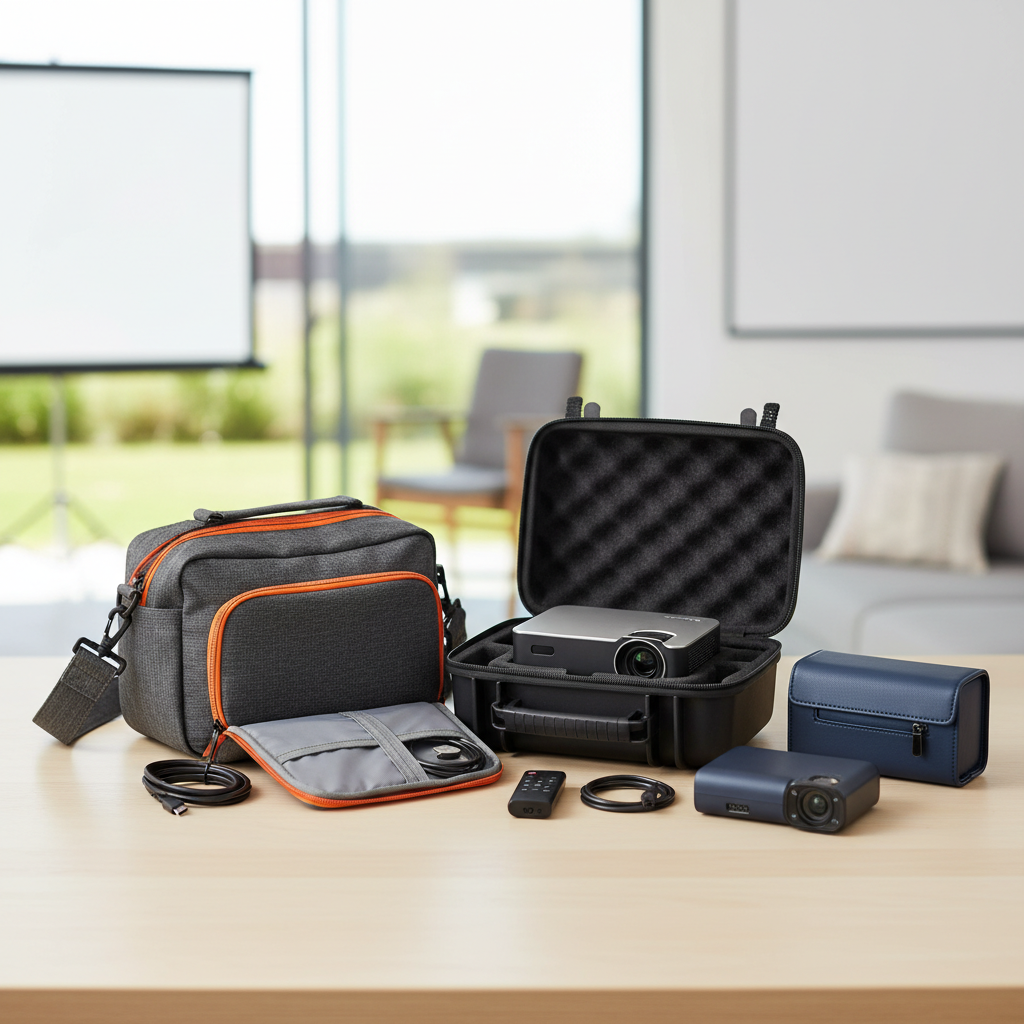
Few things are as frustrating as settling in for a movie night or preparing for a crucial presentation, only to be met with a blurry, indistinct image from your projector. A fuzzy projection can significantly detract from any viewing experience, turning what should be sharp visuals into an irritating haze. Fortunately, most instances of projector blurriness aren’t severe hardware failures but rather common issues with straightforward solutions.
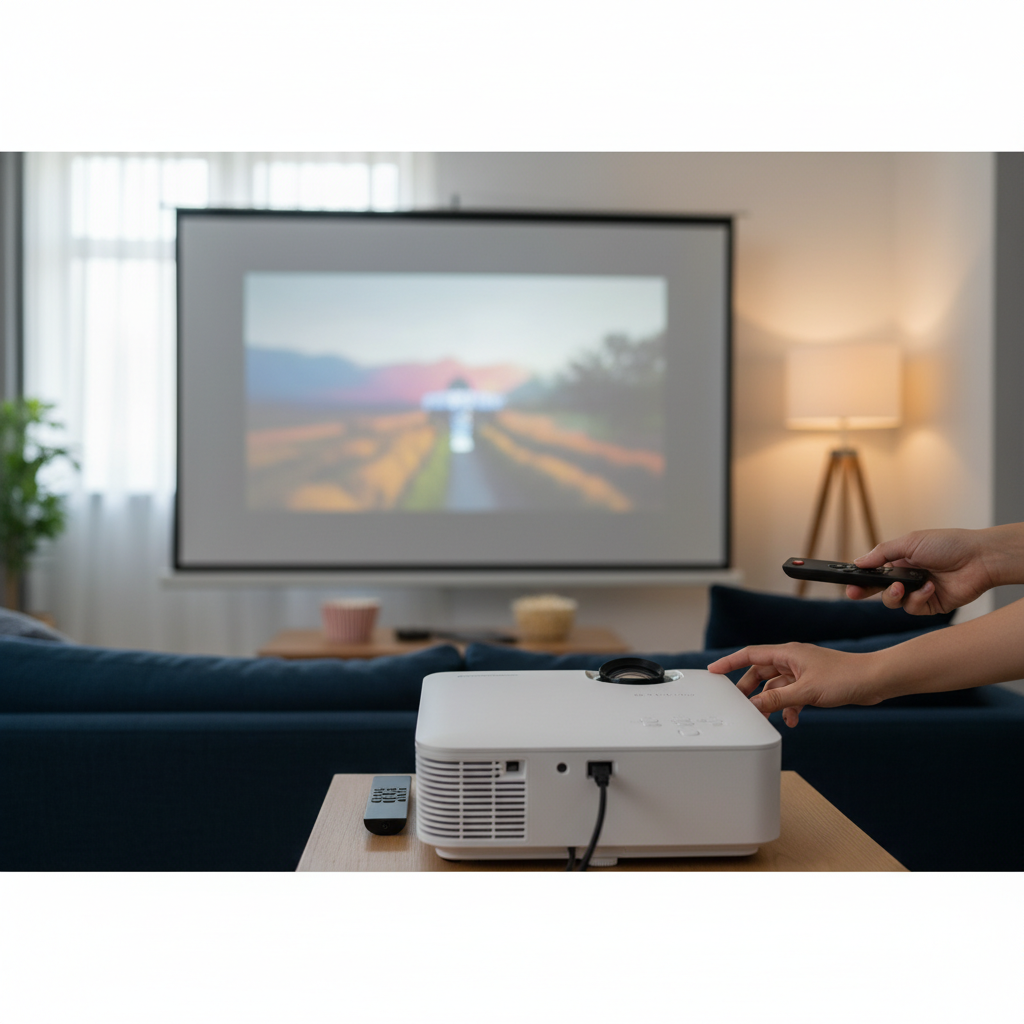
This guide will demystify the reasons behind a blurry projector image and provide five quick, actionable fixes that you can implement right away. By understanding these common culprits and applying our expert troubleshooting tips, you’ll be well on your way to restoring your projector’s crisp, clear picture and enjoying an uncompromised visual experience.
Understanding Why Your Projector is Blurry
Before diving into the solutions, it’s helpful to grasp the common reasons your projector might be showing a blurry image. Often, the problem stems from one of three main areas: the lens, the projector’s placement and alignment, or a mismatch in the video signal. From a simple smudge on the lens to an incorrectly adjusted setting, identifying the root cause is the first step toward a sharp resolution.
Many issues are easily overlooked, such as a dirty lens accumulating dust over time, or a focus ring accidentally nudged out of position. The distance between the projector and the screen, along with any tilting, can also play a major role in image clarity. Furthermore, if your source device’s output resolution doesn’t perfectly align with your projector’s native capabilities, you might encounter a less-than-sharp image. Knowing these potential causes helps you approach troubleshooting systematically.
5 Quick Fixes for a Blurry Projector
Don’t let a blurry projector ruin your viewing experience. Here are five effective and easy-to-implement solutions to get your image back in focus.
1. Sharpen Your View: Adjusting the Focus Ring
The focus ring is typically your first line of defense against a blurry image. It’s designed to manually sharpen the picture, much like focusing a camera lens.
How to adjust it:
- Locate the focus ring: This is usually a physical dial or slider located around the projector’s lens. Some modern projectors feature electronic focus, controlled via the remote or on-screen menu.
- Slowly turn the ring: While projecting an image (ideally one with fine text), turn the focus ring gradually in both directions. Observe the image closely as you make adjustments.
- Find the sweet spot: Stop turning when the image appears sharpest and clearest. Pay attention to both the center and edges of the projection.
- Pro Tip: Project a detailed image or a document with small text to make the focus adjustment more precise. This helps highlight any subtle blurriness that might be missed with simpler visuals.
|
Our Picks for the Best Mini projector in 2026
As an Amazon Associate I earn from qualifying purchases.
|
||
| Num | Product | Action |
|---|---|---|
| 1 | CiBest Mini Projector, Upgraded Full HD 1080P Support Video Projector, Portable Small Movie Projector, Compatible with iOS/Android/Windows/TV Stick/Box/USB/HDMI |

|
| 2 | Optoma 4K UHD Projector HDR High Brightness Home Theater DLP Technology White Compact Design Gaming Ready Streaming Bundle HDMI Cable CPS 12 Month Protection Plan Included |
|
| 3 | 【Built-in APPS & Electric Focusing & 210° Rotation】Mini Projector With Wifi And Bluetooth, 1080P Portable Projector, Movie Projector for Bedroom, Supports Smartphones/TV Stick/iPad/PS5/Laptop/HDMI/USB |
|
| 4 | Mini Projector with Wifi 6 and Bluetooth5.4, Portable Projector 4K Support, Android 14 Smart Proyector with 200ASIN & Auto Keystone, Alwtniet HY300Pro Small Proyector for Bedroom, Movie, Outdoor |
|
| 5 | Mini Projector, ELEPHAS Portable Projector for iPhone, 7000L with Synchronize Smartphone Screen, Movie Projector with 1080P HD/200 Screen Support, Compatible with Android/iOS/TV Stick/HDMI/USB/SD |
|
| 6 | HP Smart Mini Projector with WiFi and Bluetooth, Short Throw Projector, Native 1080P Full HD, Official Licensed Apps, Auto Focus & Keystone, Portable Movie Projector for Bedroom & Outdoor |
|
| 7 | Magcubic Mini Projector with WiFi 6 and Bluetooth 5.4, Portable Projector 4K Support, 5W Soundbase Speaker, Auto Vertical Keystone 180°Rotatable Smart Proyector for Movie Home Outdoor |
|
| 8 | [Built-in Apps] CLOKOWE Mini Projector with WiFi and Bluetooth, 2026 Upgraded 1080P Smart Portable Projector with 180° Rotation, Auto Keystone, Compatible with iPhone/Android/Laptop/TV Stick/HDMI/USB |
|
| 9 | HAPPRUN Native 1080P Bluetooth Mini Projector, Full HD Portable Outdoor Movie Projector with Built-in Speaker, Compatible with Smartphone, HDMI, USB, AV, Fire Stick, PS5 for Home, Bedroom, Outdoor Use |
|
| 10 | Mini Projector with WiFi 6 and Bluetooth 5.4 Built-in Apps for Bedroom Portable Projector Android 14 Smart Auto Keystone 1080P 4K Support Compatible with iOS/HDMI/TV Stick VisualCube 300 White |
|
“A well-adjusted focus ring is paramount for image clarity; even a slight deviation can lead to noticeable blur, especially with high-resolution content.”
2. Crystal Clear Vision: Cleaning the Projector Lens
A dirty lens is a surprisingly common culprit behind a fuzzy image. Dust, smudges, and fingerprints can accumulate on the lens surface over time, scattering light and compromising image quality.
Steps for proper lens cleaning:
- Power off and unplug: Always ensure your projector is turned off and unplugged, allowing it to cool completely before cleaning.
- Gentle wiping: Use a soft, lint-free microfiber cloth specifically designed for optics. Gently wipe the lens surface in a circular motion, starting from the center and moving outwards.
- Dust removal: For stubborn dust particles, use a can of compressed air (holding it upright to prevent propellant discharge) or a soft lens brush to blow away or sweep off debris.
- Smudge elimination: If there are fingerprints or oily smudges, lightly dampen a corner of your microfiber cloth with a dedicated lens cleaning solution or a mixture of distilled water and isopropyl alcohol. Never spray liquid directly onto the lens. Wipe gently and then use a dry part of the cloth to remove any streaks.
3. Perfect Positioning: Optimizing Throw Distance and Alignment
The physical placement of your projector has a significant impact on image sharpness. An incorrect throw distance or misalignment can easily lead to blurriness.
Key considerations:
- Check throw distance: Every projector has an optimal throw distance—the range within which it can project a clear, focused image of a certain size. Consult your projector’s manual for recommended distances. Experiment by moving the projector incrementally closer or farther from the screen until you find the sharpest picture.
- Ensure perpendicular alignment: Position your projector directly in front of the center of your screen or projection surface, ensuring it is square and flat. Avoid tilting the projector excessively, as this can introduce geometric distortions and lead to uneven focus across the screen. A slightly tilted projector can make one side or corner of the image appear blurry while the rest remains clear.
- Smooth projection surface: Projecting onto an uneven, textured, or colored wall can also make your image appear blurry, regardless of your projector’s quality. Always use a smooth, flat, and ideally white or gray projector screen for the best results.
4. Seamless Clarity: Matching Source and Projector Resolution
A mismatch between your input source’s output resolution and your projector’s native resolution is a frequent cause of blurriness, particularly if the projector is forced to upscale or downscale the image significantly.
How to resolve resolution issues:
- Identify native resolution: Find your projector’s native resolution in its specifications or user manual (e.g., 1080p, 4K). This is the resolution at which the projector produces the sharpest image without any digital scaling.
- Check source device settings: Access the display settings on your source device (laptop, streaming box, gaming console).
- Adjust output resolution: Set the source device’s output resolution to match your projector’s native resolution as closely as possible. For instance, if you have a 1080p projector, set your laptop to output 1920×1080. If your projector is 4K, ensure your source is also set to output 4K UHD.
- Access projector’s menu: Some projectors also have resolution settings you can adjust. Verify these are set to “native” or the highest supported resolution for optimal clarity.
5. Straighten Up: Utilizing Keystone Correction Wisely
Keystone correction is a feature designed to correct trapezoidal distortion that occurs when a projector is not perfectly perpendicular to the screen. While useful, over-reliance on digital keystone correction can degrade image quality and introduce blur.
Using keystone correction effectively:
- Physical adjustment first: Prioritize physically adjusting your projector’s position to be as perpendicular as possible to the screen. This minimizes the need for digital correction and preserves image integrity.
- Access keystone settings: If physical adjustment isn’t enough, locate the keystone correction settings in your projector’s on-screen menu (usually under “Image” or “Display” settings).
- Reset or reduce correction: If the correction is set to a high value, try resetting it to zero and then making small, incremental adjustments. Excessive digital keystone correction stretches or compresses pixels, leading to a noticeable softening or blur, especially at the edges of the image.
- Manual vs. Auto: Some projectors offer automatic keystone correction. While convenient, manual adjustment often provides better control for fine-tuning the image and avoiding over-correction.
Beyond the Basics: Other Considerations
If you’ve exhausted the five main fixes and your projector image remains blurry, consider these additional factors:
- Lens Cap Check: It might seem obvious, but always double-check that the lens cap has been completely removed. This simple oversight is surprisingly common.
- Connection Issues: Inspect all video cables (HDMI, VGA, DisplayPort) for secure connections and any signs of damage. A loose or faulty cable can lead to signal interference and a fuzzy display. Try swapping cables if you suspect an issue.
- Projector Warm-Up: Some projectors, especially older lamp-based models, may require a brief warm-up period to reach optimal brightness and focus. Give your projector a few minutes after powering on before making final focus adjustments.
- Internal Sharpness Settings: Check your projector’s image settings menu for a “sharpness” control. While this can enhance edges, setting it too high can introduce artifacts or a “halo” effect that makes the image appear less natural. Adjust it cautiously.
- Overheating: If your projector gets excessively hot, its internal components can suffer, potentially affecting image quality. Ensure proper ventilation, clean air vents, and avoid blocking exhaust ports. If overheating is frequent, it might indicate an internal fan issue.
- Hardware Malfunction: In rare cases, persistent blurriness after trying all troubleshooting steps could indicate a more serious internal hardware problem, such as misaligned optical elements or a failing lens motor. If this is the case, professional service or replacement might be necessary.
Conclusion
A blurry projector doesn’t have to be a permanent problem. Most clarity issues can be resolved with a few simple adjustments and a little maintenance. By methodically working through the primary culprits—focus, lens cleanliness, placement, resolution, and keystone correction—you can often restore your projector to its peak performance. Remember to approach troubleshooting step-by-step, carefully observing the image after each adjustment.
These quick fixes empower you to take control of your projector’s image quality, transforming a frustrating blurry picture into a vibrant, clear display. With these tips in hand, you’re now equipped to enjoy every presentation, movie, or game with the sharpness it deserves. What cinematic masterpiece or critical presentation will you enjoy with newfound clarity first?
Frequently Asked Questions
Why is my projector blurry around the edges but clear in the center?
Blurriness specifically around the edges often points to issues with keystone correction being overused, or the projector not being perfectly perpendicular to the screen. It can also indicate minor optical misalignment or, less commonly, a slight defect in the lens itself. Try physical repositioning before relying heavily on digital keystone.
How do I make my projector image clearer and sharper?
To make your projector image clearer, start by adjusting the focus ring until text and details are sharp. Ensure your projector lens is clean, and the device is positioned at the optimal distance and angle to the screen. Also, verify that the input source’s resolution matches the projector’s native resolution for the best possible clarity.
Can a dirty lens truly cause a projector to be blurry?
Absolutely. Dust, smudges, and fingerprints on the projector lens can scatter the light passing through, resulting in a significantly blurry or hazy image. Regular, gentle cleaning with appropriate tools like a microfiber cloth and lens solution is crucial for maintaining optimal image clarity and sharpness.