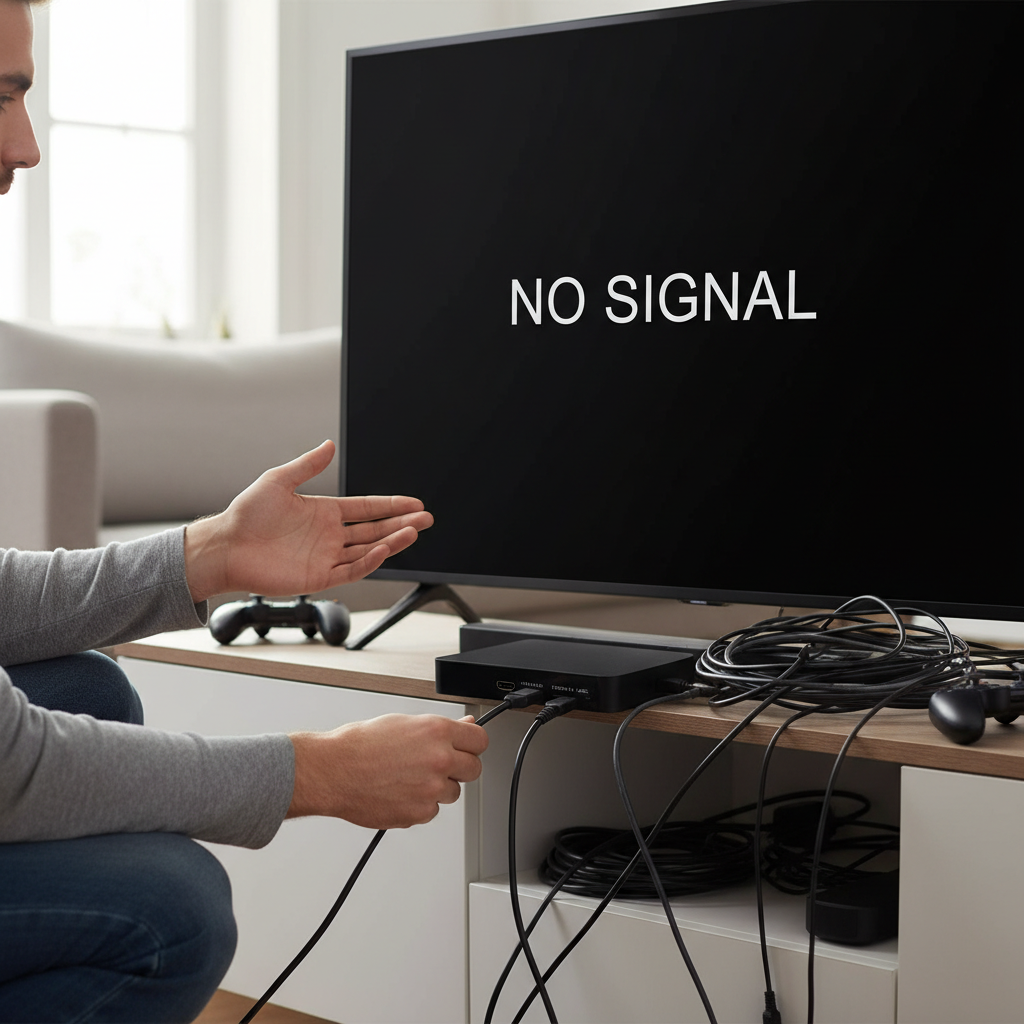
There’s nothing quite as frustrating as settling in for a movie, presentation, or gaming session, only to be met with a blurry, indistinct image from your mini projector. Unfocused visuals can quickly diminish even the most captivating content, turning an immersive experience into an irritating one. Fortunately, mastering your mini projector’s focus is a skill easily learned, promising sharp, vibrant, and enjoyable displays every time. This comprehensive guide will walk you through the precise steps and valuable tips needed to achieve crystal-clear images, transforming your viewing experience.
Understanding Your Mini Projector’s Focus Mechanisms
Before diving into adjustments, it’s essential to understand how your mini projector achieves focus. Most mini projectors employ one of two primary mechanisms:
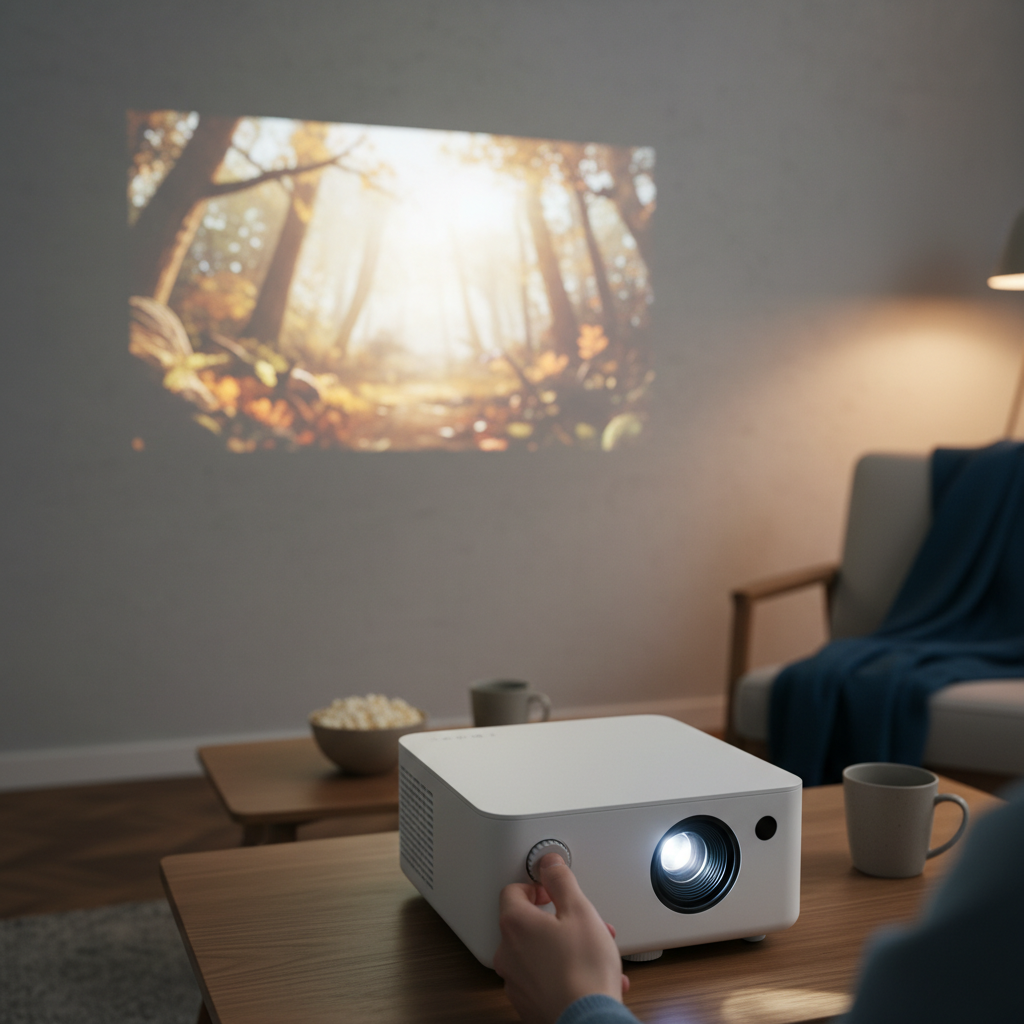
- Manual Focus: This is the most common method, especially in budget-friendly and compact models. You’ll typically find a physical focus ring or a small wheel located around the projector’s lens barrel. Rotating this ring manually adjusts the lens position, bringing the image into sharpness. This method offers precise control and is often preferred for fine-tuning.
- Automatic Focus: Increasingly, modern mini projectors, particularly smarter and more advanced models, come equipped with automatic focus capabilities. These projectors use internal sensors to detect the projection distance and automatically adjust the lens for optimal sharpness, often upon startup or when a new input source is connected. While convenient, some users may still find a need for slight manual fine-tuning if available.
It’s also crucial to distinguish between focus and keystone correction. Focus is about making the image sharp and clear. Keystone correction, on the other hand, corrects the rectangular shape of the image when the projector is not perfectly perpendicular to the screen, preventing a trapezoidal or distorted look. While both affect overall image quality, keystone correction does not sharpen a blurry image and can even reduce sharpness if applied excessively.
Step-by-Step Guide to Focusing Your Mini Projector
Achieving perfect focus is a systematic process. Follow these steps for the best results:
Step 1: Optimal Placement and Stable Setup
|
Our Picks for the Best Mini projector in 2026
As an Amazon Associate I earn from qualifying purchases.
|
||
| Num | Product | Action |
|---|---|---|
| 1 | HP Smart Mini Projector with WiFi and Bluetooth, Short Throw Projector, Native 1080P Full HD, Official Licensed Apps, Auto Focus & Keystone, Portable Movie Projector for Bedroom & Outdoor |

|
| 2 | Mini Projector with WiFi 6 and Bluetooth 5.4 Built-in Apps for Bedroom Portable Projector Android 14 Smart Auto Keystone 1080P 4K Support Compatible with iOS/HDMI/TV Stick VisualCube 300 White |
|
| 3 | 【Built-in APPS & Electric Focusing & 210° Rotation】Mini Projector With Wifi And Bluetooth, 1080P Portable Projector, Movie Projector for Bedroom, Supports Smartphones/TV Stick/iPad/PS5/Laptop/HDMI/USB |
|
| 4 | [Built-in Apps] CLOKOWE Mini Projector with WiFi and Bluetooth, 2026 Upgraded 1080P Smart Portable Projector with 180° Rotation, Auto Keystone, Compatible with iPhone/Android/Laptop/TV Stick/HDMI/USB |
|
| 5 | Magcubic Mini Projector with WiFi 6 and Bluetooth 5.4, Portable Projector 4K Support, 5W Soundbase Speaker, Auto Vertical Keystone 180°Rotatable Smart Proyector for Movie Home Outdoor |
|
| 6 | Mini Projector with Wifi 6 and Bluetooth5.4, Portable Projector 4K Support, Android 14 Smart Proyector with 200ASIN & Auto Keystone, Alwtniet HY300Pro Small Proyector for Bedroom, Movie, Outdoor |
|
| 7 | Optoma 4K UHD Projector HDR High Brightness Home Theater DLP Technology White Compact Design Gaming Ready Streaming Bundle HDMI Cable CPS 12 Month Protection Plan Included |
|
| 8 | Mini Projector, ELEPHAS Portable Projector for iPhone, 7000L with Synchronize Smartphone Screen, Movie Projector with 1080P HD/200 Screen Support, Compatible with Android/iOS/TV Stick/HDMI/USB/SD |
|
| 9 | CiBest Mini Projector, Upgraded Full HD 1080P Support Video Projector, Portable Small Movie Projector, Compatible with iOS/Android/Windows/TV Stick/Box/USB/HDMI |
|
| 10 | HAPPRUN Native 1080P Bluetooth Mini Projector, Full HD Portable Outdoor Movie Projector with Built-in Speaker, Compatible with Smartphone, HDMI, USB, AV, Fire Stick, PS5 for Home, Bedroom, Outdoor Use |
|
Begin by positioning your mini projector in its intended location. Place it on a stable, flat surface to prevent any wobbling or accidental shifts during adjustment. Critically, ensure the projector is as perpendicular as possible to your projection surface (screen or wall). Projecting at an extreme angle can introduce image distortion that even keystone correction might struggle to fix without compromising sharpness. Adjust the projector’s distance from the screen to achieve your desired image size, as this “throw distance” directly impacts where the image will eventually come into focus.
Step 2: Power On and Display a Clear Reference Image
Turn on your mini projector and allow it a minute or two to warm up, especially if it’s been stored in a cool environment. Once powered, display a high-contrast image or text-heavy content. Many projectors have built-in test patterns or a menu screen that works well. A clear reference image with fine details or distinct lines will make it much easier to accurately judge when the image is truly sharp.
Step 3: Mastering Manual Focus Adjustment
If your mini projector uses manual focus, locate the focus ring or wheel around the lens. Gently begin to rotate it, observing the projected image as you do so. You’ll notice the image transition from blurry to clear and then potentially back to blurry again. Your goal is to find the sweet spot where the image appears crisp and well-defined. Pay close attention to text or intricate details, ensuring they are sharp and legible across the entire screen. Make small, incremental adjustments for maximum precision.
Step 4: Leveraging Automatic Focus (if available)
For mini projectors with an auto-focus function, the device should automatically adjust the lens upon activation or when an input source is connected. Allow a few seconds for the projector’s internal system to complete its scan and optimization. While often effective, if the image isn’t perfectly sharp to your liking, check your projector’s settings or remote control for an option to manually fine-tune the focus, or to re-trigger the auto-focus if needed.
Step 5: Applying Keystone Correction Thoughtfully
Once you’ve achieved the best possible sharpness using the focus mechanism, address any remaining image distortion. If the image appears trapezoidal (wider at the top or bottom), use the keystone correction feature. This can typically be adjusted via a lever on the projector body or through the on-screen menu. Remember, keystone correction is for shape, not sharpness. Use it sparingly, as applying “thick keystone minimizes sharpness, particularly with a mini projector.” Prioritize getting the focus right first.
Step 6: Final Verification with Diverse Content
After completing the previous steps, play various types of media – a movie clip, a complex presentation slide, or a game. This allows you to confirm consistent sharpness across different content types. If certain areas or specific content reveal lingering blurriness, don’t hesitate to re-adjust the focus until you are fully satisfied with the clarity.
Advanced Tips for Maintaining Perfect Focus
Beyond the basic steps, these tips can help you achieve and maintain superior image clarity:
- Clean the Lens Regularly: Dust, fingerprints, or smudges on the projector lens can significantly degrade image sharpness. Gently wipe the lens with a soft, lint-free microfiber cloth designed for optics. Avoid harsh chemicals or abrasive materials.
- Ensure a Stable Environment: Any vibration or movement of the projector can throw off your carefully calibrated focus. Always place your mini projector on a sturdy, level surface.
- Understand Native Resolution: While focus makes the image clear, the projector’s native resolution dictates the ultimate detail it can display. Ensuring your content matches or is scaled appropriately for your mini projector’s native resolution can enhance perceived sharpness.
- Avoid Digital Zoom: If your mini projector has both optical and digital zoom, always prefer adjusting the physical distance or using optical zoom. Digital zoom often involves scaling the image, which can lead to a noticeable reduction in sharpness.
Troubleshooting Common Mini Projector Focus Problems
Even with careful adjustment, you might encounter specific focus-related issues. Here’s how to address common problems:
- Image Blurry on One Side: This is a common complaint. It often points to poor alignment between the projector and the screen, or an uneven projection surface. Ensure your projector is positioned directly facing the center of the screen, and that the screen itself is flat and taut. Overuse of keystone correction can also cause uneven sharpness across the image.
- Cannot Achieve Any Sharp Focus: If the entire image remains blurry despite adjustments, first check for simple oversights: Is the lens cap completely off? Is the projector positioned within its recommended throw distance range? If these checks fail, the issue could be a dirty lens, or in rare cases, a defective lens or internal hardware problem requiring professional repair.
- Focus Drifts During Use: If your image starts sharp but gradually blurs over time, it could be due to heat expansion within the projector components. Allow the projector to warm up fully before making final focus adjustments. In some cases, loose internal components might also cause focus drift.
- Image is Trapezoidal, Not Blurry: This is a classic keystone correction issue, not a focus problem. Focus on getting the image sharp first, then use the keystone correction feature to square up the distorted edges. Remember to use it minimally.
Conclusion
Achieving perfect focus on your mini projector is fundamental to unlocking its full potential, transforming your viewing experience from passable to truly immersive. By understanding your projector’s focus mechanisms, carefully following the step-by-step adjustment guide, and applying advanced tips, you can ensure every image projected is crisp, clear, and vibrant. Don’t let a blurry picture detract from your enjoyment; take the time to fine-tune your setup. With a little practice, you’ll master the art of perfect focus, guaranteeing an optimal display every time.
What amazing content will you project now that your mini projector is perfectly focused?
FAQ
Why is my mini projector blurry on one side?
This often indicates poor alignment between the projector and the screen, or an uneven projection surface. Ensure your projector is positioned directly facing the center of the screen and that the screen itself is flat. Overuse of keystone correction can also cause uneven sharpness.
Can I fix a permanently blurry mini projector?
If proper placement, lens cleaning, and focus adjustments don’t work, the issue might be internal. Check if a lens cap is accidentally on or if the projector is too close/far. If still blurry, it could be a hardware defect requiring professional repair or replacement.
What’s the difference between focus and keystone correction?
Focus adjusts the sharpness of the image, making it clear and crisp. Keystone correction, on the other hand, corrects the rectangular shape of the image, making it square when projecting from an angle. While related to image quality, keystone correction does not sharpen a blurry image and can even reduce sharpness if applied excessively.
How often should I clean my projector lens?
It’s good practice to gently clean your mini projector’s lens whenever you notice dust or smudges affecting image clarity. Use a soft, lint-free microfiber cloth and avoid harsh chemicals. For general maintenance, a quick wipe every few weeks or before important viewing sessions is sufficient.
Does distance affect projector focus?
Yes, absolutely. The distance between your mini projector and the screen (known as throw distance) directly impacts where the image comes into focus. Most projectors have a specific range of distances where they can achieve optimal sharpness. Moving the projector closer or further away will necessitate re-adjusting the focus.