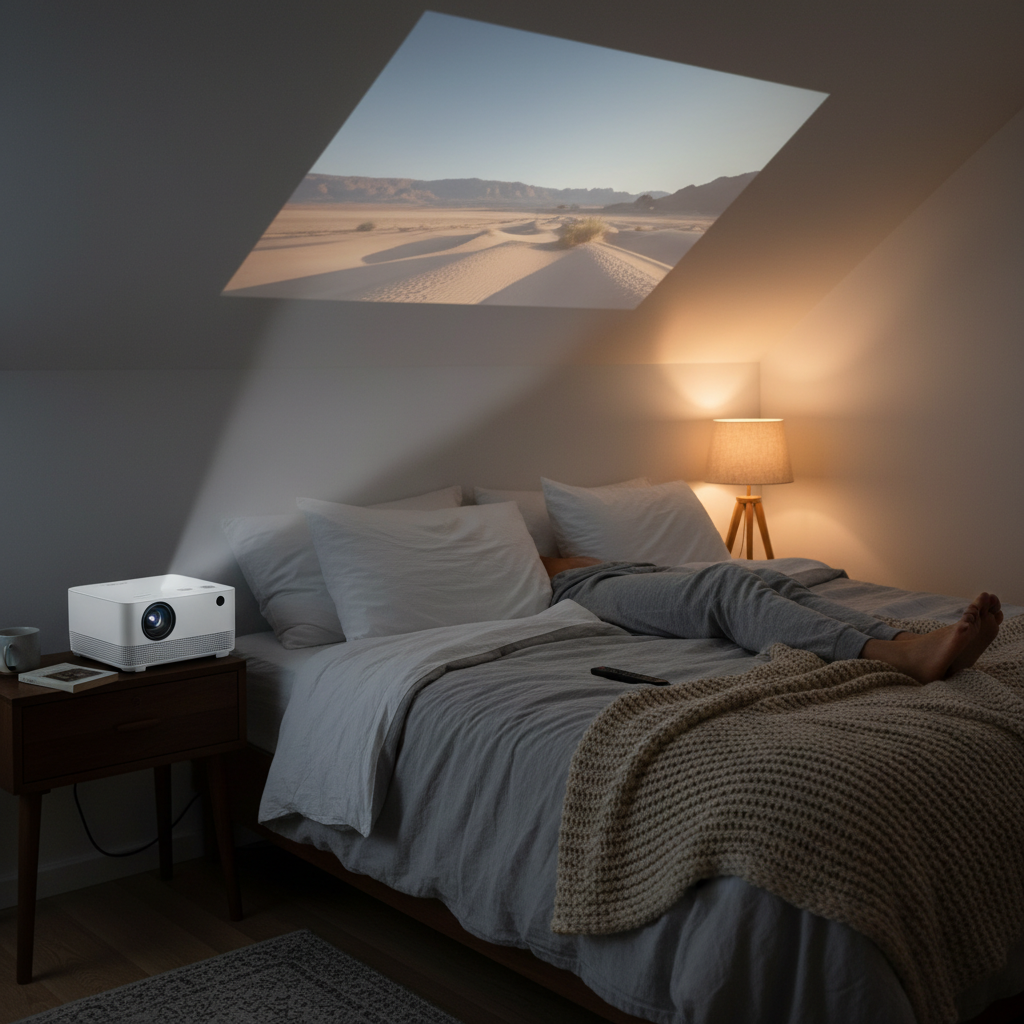
Imagine transforming your bedroom ceiling into a personal movie screen, where you can unwind with your favorite films or series from the comfort of your bed. This dream is not only achievable but also surprisingly simple with the right mini projector setup. Forget the hassle of mounting a large TV or craning your neck; ceiling projection offers unparalleled relaxation and an immersive cinematic experience tailored for bedtime viewing. This guide will walk you through everything you need to know, from selecting the perfect mini projector to setting it up flawlessly, ensuring your next movie night is literally looking up.
Choosing the Right Mini Projector for Ceiling Projection
Selecting a mini projector specifically for ceiling projection involves considering features that enhance comfort and image quality when viewing from a reclined position. Not all projectors are created equal for this unique use case.
Flexible Lens and Keystone Correction
The most crucial feature for a ceiling projector is a flexible lens assembly or robust digital keystone correction. Traditional projectors often project straight forward, making it challenging to aim directly upwards without physical obstruction or severe image distortion. Look for models that offer:
- Wide rotation range: Projectors like the BenQ GV series or JMGO N1/N1S Ultra feature gimbal designs or flexible lens rotation, allowing you to easily direct the image upwards without needing to prop the projector awkwardly.
- Automatic vertical keystone correction: This feature automatically adjusts the image to maintain a rectangular shape even when the projector is angled, preventing trapezoidal distortion. Manual keystone correction is also common, but automatic provides greater convenience.
- Automatic focus: Some advanced mini projectors can automatically adjust focus, ensuring a crisp image without manual tweaking, which is especially helpful when changing positions or moving the projector.
|
Our Picks for the Best Mini projector in 2026
As an Amazon Associate I earn from qualifying purchases.
|
||
| Num | Product | Action |
|---|---|---|
| 1 | 【Built-in APPS & Electric Focusing & 210° Rotation】Mini Projector With Wifi And Bluetooth, 1080P Portable Projector, Movie Projector for Bedroom, Supports Smartphones/TV Stick/iPad/PS5/Laptop/HDMI/USB |

|
| 2 | Optoma 4K UHD Projector HDR High Brightness Home Theater DLP Technology White Compact Design Gaming Ready Streaming Bundle HDMI Cable CPS 12 Month Protection Plan Included |
|
| 3 | Mini Projector, ELEPHAS Portable Projector for iPhone, 7000L with Synchronize Smartphone Screen, Movie Projector with 1080P HD/200 Screen Support, Compatible with Android/iOS/TV Stick/HDMI/USB/SD |
|
| 4 | CiBest Mini Projector, Upgraded Full HD 1080P Support Video Projector, Portable Small Movie Projector, Compatible with iOS/Android/Windows/TV Stick/Box/USB/HDMI |
|
| 5 | HP Smart Mini Projector with WiFi and Bluetooth, Short Throw Projector, Native 1080P Full HD, Official Licensed Apps, Auto Focus & Keystone, Portable Movie Projector for Bedroom & Outdoor |
|
| 6 | Mini Projector with WiFi 6 and Bluetooth 5.4 Built-in Apps for Bedroom Portable Projector Android 14 Smart Auto Keystone 1080P 4K Support Compatible with iOS/HDMI/TV Stick VisualCube 300 White |
|
| 7 | Mini Projector with Wifi 6 and Bluetooth5.4, Portable Projector 4K Support, Android 14 Smart Proyector with 200ASIN & Auto Keystone, Alwtniet HY300Pro Small Proyector for Bedroom, Movie, Outdoor |
|
| 8 | Magcubic Mini Projector with WiFi 6 and Bluetooth 5.4, Portable Projector 4K Support, 5W Soundbase Speaker, Auto Vertical Keystone 180°Rotatable Smart Proyector for Movie Home Outdoor |
|
| 9 | [Built-in Apps] CLOKOWE Mini Projector with WiFi and Bluetooth, 2026 Upgraded 1080P Smart Portable Projector with 180° Rotation, Auto Keystone, Compatible with iPhone/Android/Laptop/TV Stick/HDMI/USB |
|
| 10 | HAPPRUN Native 1080P Bluetooth Mini Projector, Full HD Portable Outdoor Movie Projector with Built-in Speaker, Compatible with Smartphone, HDMI, USB, AV, Fire Stick, PS5 for Home, Bedroom, Outdoor Use |
|
Brightness and Resolution for Optimal Clarity
While you’ll likely be watching in a dark room, brightness and resolution still play a significant role in image quality.
- Brightness (ANSI Lumens): For a completely dark bedroom, a mini projector with 100-500 ANSI lumens can suffice. However, higher lumens (e.g., 500+ ANSI lumens) provide a more vibrant and crisp image, even with minimal ambient light, and offer more versatility for other uses.
- Resolution: A native 720p resolution is generally excellent for ceiling projection, delivering a clear and detailed picture that’s sharp enough for enjoyable viewing. Many projectors also support 1080p or even 4K input, scaling it down to their native resolution. While a true 4K projector offers superior detail, it might be overkill and significantly more expensive for casual bedtime viewing.
Size, Portability, and Quiet Operation
A mini projector’s physical characteristics directly impact your bedtime movie experience.
- Compact design and portability: Lightweight, small projectors are easier to position and move around your bedroom. If you plan to occasionally use it in other rooms or even outdoors, portability becomes a key advantage.
- Quiet fan noise: Since the projector will likely be positioned near your head, fan noise is a critical consideration. A noisy projector can be incredibly distracting, pulling you out of the immersive experience. Look for models explicitly advertised as having low-noise fans.
- Integrated Smart Features and Connectivity: Modern mini projectors often come equipped with smart features that enhance convenience.
- Built-in Wi-Fi and Bluetooth: Wi-Fi allows for direct streaming from popular apps like Netflix and YouTube without needing an external streaming device. Bluetooth connectivity lets you pair wireless headphones or external speakers for superior audio quality without disturbing others.
- Internal battery: For ultimate flexibility, a built-in battery allows you to use the projector anywhere in your room without worrying about power outlets, though battery life can vary.
- Connectivity ports: Ensure it has essential ports like HDMI and USB for connecting external devices such as laptops, gaming consoles, or USB drives.
Setting Up Your Bedside Cinema
Once you have your ideal mini projector, setting it up for ceiling projection is the next step to enjoying your movies.
Projector Placement and Mounting Options
Proper positioning is key to a comfortable and stable viewing experience.
- Tripod on a stable surface: A common method is to use a projector tripod. For ceiling projection, you often need to position the tripod quite low to the ground to achieve a large picture size. Ensure the tripod is on a firm, stable surface, not your bed, to prevent it from tipping over, especially with lighter projectors.
- Projectors with integrated stands/gimbals: Some mini projectors are designed with built-in adjustable stands or gimbal designs that allow you to tilt the lens directly upwards without additional accessories. These are often the easiest and most stable options.
- Permanent ceiling mount: For a dedicated home theater experience, a fixed ceiling mount can be installed. This provides a permanent, stable solution that keeps cables tidy. However, be mindful of fan noise if mounted directly above your head, and consider the effort required for installation and cleaning.
- Avoid placing directly on its back: Do not place the projector directly on its back to aim at the ceiling. This can block ventilation, cause overheating, strain cables, and lead to an unstable display.
Optimizing Your Viewing Experience
Even the best projector needs a suitable environment to shine.
- Your ceiling is your screen: A smooth, light-colored ceiling acts as an excellent natural screen. Ensure it’s clean and free of obstructions like ceiling fans or light fixtures that could block the projection beam.
- Room darkness: For the best contrast and most vivid colors, ensure your bedroom is as dark as possible. Block out ambient light from windows with thick curtains or blinds.
- Optimal viewing distance and size: Experiment with the projector’s distance from the ceiling to achieve your desired screen size. Most mini projectors offer flexible image sizes, from 40 to 120 inches or even larger. Remember to adjust focus and keystone correction after changing the projector’s position or distance.
- Comfortable viewing angle: Position the image on the ceiling so it’s directly above or slightly ahead of your typical reclined head position. Some users find that a slightly angled projection (e.g., 45 degrees rather than a full 90 degrees directly overhead) can reduce neck strain during longer viewing sessions.
- Enhanced audio: While many mini projectors have built-in speakers, their quality can be limited. For a truly immersive experience, consider connecting external Bluetooth speakers or headphones.
“A common mistake is underestimating the impact of ambient light. Even a small amount can significantly wash out your projected image, so dedicate time to making your room as dark as possible for that truly cinematic feel.” – Admin, reviewbcm.com, Mini Projector Specialist
Common Challenges and Solutions
Even with the right equipment, you might encounter a few hurdles. Here are typical problems and how to solve them.
Image Distortion (Keystone Effect)
- Problem: The projected image appears trapezoidal instead of rectangular, with one side wider or narrower than the other.
- Solution: Use the projector’s keystone correction feature. Most mini projectors have digital keystone correction, either manual or automatic, to square up the image. Some advanced models may also offer horizontal keystone correction if needed.
Blurry or Out-of-Focus Image
- Problem: The image lacks sharpness and appears fuzzy.
- Solution: Adjust the focus ring on the projector’s lens. If it’s an automatic focus projector, try moving it slightly or restarting it. Ensure the lens is clean; gently wipe it with a microfiber cloth.
Fan Noise
- Problem: The projector’s fan noise is distracting, especially in a quiet bedroom.
- Solution: Choose a projector known for quiet operation from the outset. If your current projector is noisy, try to position it slightly further away or use external speakers/headphones to mask the sound. Ensure it has proper ventilation to prevent the fan from working overtime.
Overheating
- Problem: The projector gets excessively hot and might shut down.
- Solution: Ensure the projector’s vents are not blocked, especially if it’s placed on a soft surface. Never place it directly on its back without a stand that allows for airflow. Operate it in a well-ventilated space.
Neck Strain or Discomfort
- Problem: Lying completely flat and looking straight up for extended periods can cause neck discomfort.
- Solution: Adjust your pillow setup for better head and neck support. Experiment with the projector’s position to angle the image slightly towards your viewing position, rather than strictly 90 degrees overhead. Short breaks can also help.
Buying Guide for Your Ceiling Projector
Navigating the market for the perfect mini projector for ceiling projection can be overwhelming. Here’s a concise buying guide to help you make an informed decision.
Determine Your Usage Needs
What’s your primary purpose? Are you solely watching movies in bed, or do you also plan to use it for presentations, gaming, or outdoor movie nights? If versatility is key, look for models with good battery life and robust connectivity. For dedicated bedtime viewing, focus on quiet operation and flexible projection angles.
Set a Realistic Budget
Mini projectors range widely in price. Entry-level models offer basic functionality, while higher-end projectors come with superior brightness, resolution, smart features, and quieter operation. Define how much you’re willing to spend, keeping in mind that investing a bit more can significantly improve your experience, especially regarding fan noise and image clarity.
Read Reviews and Compare Features
Don’t just go by marketing claims. Research online reviews, particularly from users who have specifically used the projector for ceiling projection. Pay close attention to feedback on keystone correction, fan noise, brightness in dark rooms, and ease of setup. Compare key specifications like native resolution, ANSI lumens, and available connectivity options across different models.
Consider the Brand and Support
Opt for reputable brands known for quality and customer support. While many new brands offer competitive features, established manufacturers often provide more reliable products and better post-purchase assistance.
Conclusion
Transforming your bedroom ceiling into a giant screen for bedtime movies is an achievable luxury that can redefine your relaxation experience. By carefully selecting a mini projector with features like flexible projection, automatic keystone correction, quiet operation, and sufficient brightness, you can enjoy crisp, immersive visuals from the comfort of your bed. Remember to optimize your setup by ensuring a dark room, stable positioning, and comfortable viewing angles, and be prepared to troubleshoot common issues like image distortion or fan noise. With these insights, you’re well on your way to creating your personal celestial cinema. What movie will you watch first as you gaze up at your own private big screen?
Frequently Asked Questions
Can I use any mini projector to project on the ceiling?
While you can technically point many mini projectors at the ceiling, an ideal experience requires specific features. Look for projectors with flexible lens rotation, strong automatic keystone correction, and quiet operation for optimal comfort and image quality when viewing overhead. Projectors not designed for this may suffer from poor image geometry, blocked vents, or excessive noise.
How far should my mini projector be from the ceiling for a good picture?
The ideal distance depends on your projector’s throw ratio and the desired screen size. Most mini projectors offer a flexible image size (e.g., 40-120 inches). You’ll typically need a distance of 1.5 to 4 or 5 meters (about 5 to 16 feet) to achieve a good viewing size on your ceiling. Experiment with placement to find the perfect balance for your room.
Will projecting on the ceiling cause neck pain?
Initially, you might experience some neck discomfort if you lie completely flat and stare straight up for long periods. To minimize this, use extra pillows for head and neck support. Some users find angling the projection slightly (e.g., 45 degrees instead of 90 degrees directly overhead) more comfortable for extended viewing sessions.
What about sound quality when projecting on the ceiling?
Most mini projectors include built-in speakers, but their quality can be limited. For an immersive audio experience, especially for movies, consider connecting external Bluetooth speakers or a soundbar. This allows for richer sound and lets you place the audio source closer to you, enhancing the cinema feel without disturbing others.
Do I need a special “screen” for ceiling projection?
No, a smooth, light-colored ceiling typically serves as an excellent projection surface. Ensure your ceiling is clean and free of texture, fans, or light fixtures that could obstruct or distort the image. A flat, white or off-white ceiling will provide the best contrast and color accuracy for your bedtime movies.