Have you ever captured what you thought was a perfect shot, only to find an unsightly rainbow halo outlining subjects in your image? This frustrating phenomenon, known as chromatic aberration, is a common optical flaw that can degrade image sharpness and color accuracy. It’s the silent culprit behind those blurry, color-fringed edges that photographers and optical enthusiasts frequently encounter. Understanding what causes this optical distortion and how to mitigate it is crucial for anyone seeking pristine, professional-looking results from their lenses. This article will delve into the science of chromatic aberration, explore its different types, and equip you with practical strategies to prevent and correct it, ensuring your images remain crisp and true to life.
Understanding Chromatic Aberration: The Science Behind Blurry Edges
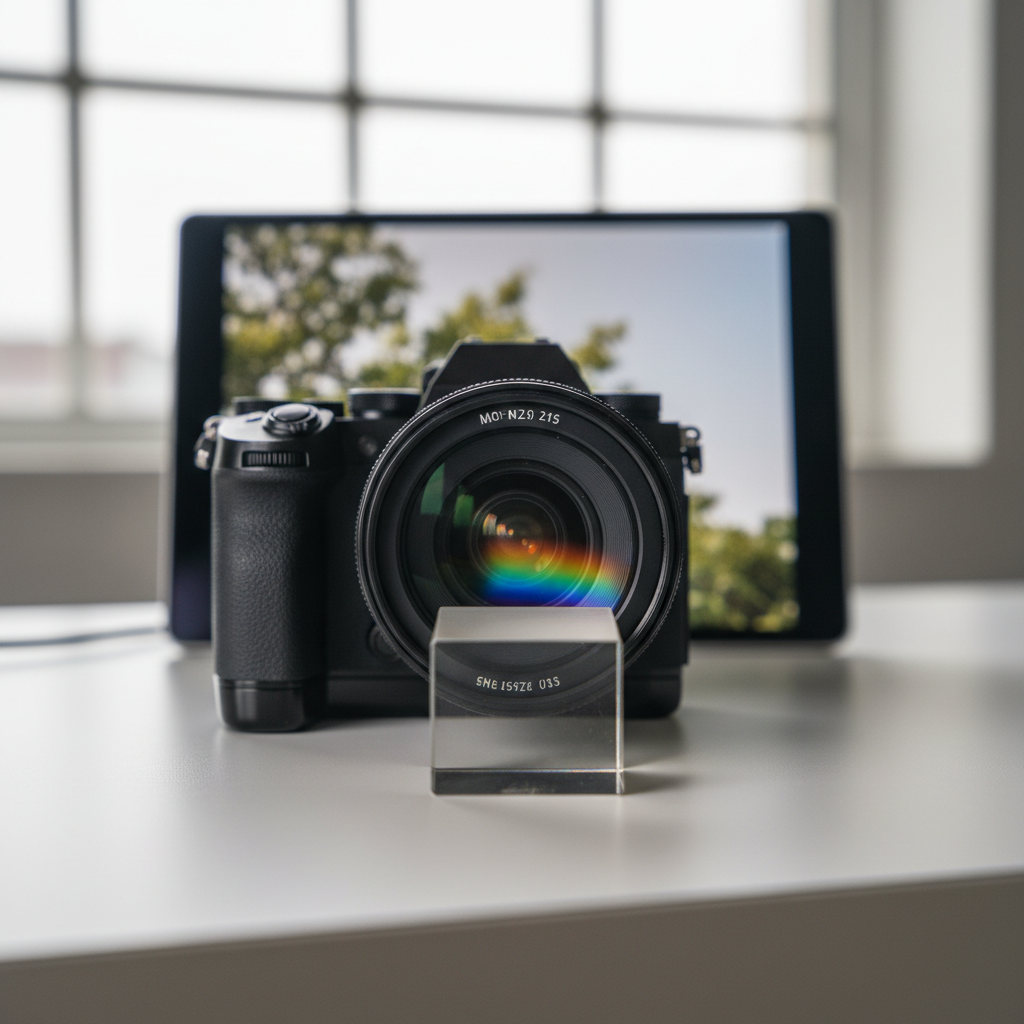
Chromatic aberration, often referred to as “color fringing” or “chromatic distortion,” occurs when a lens fails to bring all wavelengths of light to a single, precise focal point. White light, which we see as a single entity, is actually composed of a spectrum of colors, each with its own unique wavelength. When this light passes through a lens, the phenomenon of “dispersion” comes into play. Different colors of light travel through the lens material at slightly varying speeds, causing them to refract, or bend, at different angles.
The fundamental reason for this lies in the lens material’s refractive index, which changes depending on the light’s wavelength. Shorter wavelengths, such as blue and violet light, tend to bend more sharply than longer wavelengths like red light. This differential bending means that instead of converging perfectly, each color focuses at a slightly different distance from the lens, or with a different level of magnification. The result is a noticeable separation of colors, particularly visible at high-contrast edges in an image, leading to a hazy, multi-colored border where there should be clear definition.
The Two Faces of Chromatic Aberration: Axial vs. Lateral
Chromatic aberration manifests in two primary forms, each with distinct characteristics and visual impacts on an image. Recognizing the difference between these types is key to understanding their appearance and applying the correct solutions.
Axial (Longitudinal) Chromatic Aberration
|
Our Picks for the Best Mini projector in 2026
As an Amazon Associate I earn from qualifying purchases.
|
||
| Num | Product | Action |
|---|---|---|
| 1 | HAPPRUN Native 1080P Bluetooth Mini Projector, Full HD Portable Outdoor Movie Projector with Built-in Speaker, Compatible with Smartphone, HDMI, USB, AV, Fire Stick, PS5 for Home, Bedroom, Outdoor Use |

|
| 2 | CiBest Mini Projector, Upgraded Full HD 1080P Support Video Projector, Portable Small Movie Projector, Compatible with iOS/Android/Windows/TV Stick/Box/USB/HDMI |
|
| 3 | Optoma 4K UHD Projector HDR High Brightness Home Theater DLP Technology White Compact Design Gaming Ready Streaming Bundle HDMI Cable CPS 12 Month Protection Plan Included |
|
| 4 | [Built-in Apps] CLOKOWE Mini Projector with WiFi and Bluetooth, 2026 Upgraded 1080P Smart Portable Projector with 180° Rotation, Auto Keystone, Compatible with iPhone/Android/Laptop/TV Stick/HDMI/USB |
|
| 5 | Magcubic Mini Projector with WiFi 6 and Bluetooth 5.4, Portable Projector 4K Support, 5W Soundbase Speaker, Auto Vertical Keystone 180°Rotatable Smart Proyector for Movie Home Outdoor |
|
| 6 | 【Built-in APPS & Electric Focusing & 210° Rotation】Mini Projector With Wifi And Bluetooth, 1080P Portable Projector, Movie Projector for Bedroom, Supports Smartphones/TV Stick/iPad/PS5/Laptop/HDMI/USB |
|
| 7 | Mini Projector with Wifi 6 and Bluetooth5.4, Portable Projector 4K Support, Android 14 Smart Proyector with 200ASIN & Auto Keystone, Alwtniet HY300Pro Small Proyector for Bedroom, Movie, Outdoor |
|
| 8 | Mini Projector, ELEPHAS Portable Projector for iPhone, 7000L with Synchronize Smartphone Screen, Movie Projector with 1080P HD/200 Screen Support, Compatible with Android/iOS/TV Stick/HDMI/USB/SD |
|
| 9 | Mini Projector with WiFi 6 and Bluetooth 5.4 Built-in Apps for Bedroom Portable Projector Android 14 Smart Auto Keystone 1080P 4K Support Compatible with iOS/HDMI/TV Stick VisualCube 300 White |
|
| 10 | HP Smart Mini Projector with WiFi and Bluetooth, Short Throw Projector, Native 1080P Full HD, Official Licensed Apps, Auto Focus & Keystone, Portable Movie Projector for Bedroom & Outdoor |
|
Axial chromatic aberration (ACA), also known as longitudinal chromatic aberration (LCA), arises when different wavelengths of light focus at varying distances along the optical axis of the lens. This type of aberration typically appears as a general blur or smeared colored patches, often affecting the entire image, including the center. It’s particularly evident in out-of-focus areas (bokeh), where subjects can exhibit green fringing in front of the focal plane and magenta or purple fringing behind it. One effective method to reduce axial CA is by “stopping down” your lens, meaning decreasing the aperture size. This increases the depth of field, which, while not physically correcting the color separation, helps to create smaller blur circles for the different wavelengths, thus making the aberration less noticeable.
Transverse (Lateral) Chromatic Aberration
In contrast, transverse chromatic aberration (TCA), also referred to as lateral chromatic aberration (LCA), occurs when different wavelengths of light focus at varying positions perpendicular to the optical axis. This effectively means that different colors are magnified to different degrees, causing them to land on the sensor at slightly different points. Lateral CA is most prominent towards the edges and corners of an image and becomes more severe further away from the center. It appears as distinct color fringes, commonly purple, green, or blue, along high-contrast boundaries, such as dark tree branches against a bright sky. Unlike axial CA, transverse CA is largely unaffected by aperture changes and is more consistent across a range of focal lengths. This makes it particularly challenging to manage purely through camera settings.
Identifying Chromatic Aberration in Your Images
Spotting chromatic aberration in your photographs doesn’t require a specialized degree in optics; often, it’s visibly apparent once you know what to look for. The most telling signs are the vibrant, unwanted color halos or “fringes” that appear around the edges of objects. These fringes are typically purple, green, or blue, though other colors can occur depending on the specific lens and lighting conditions.
Common scenarios where chromatic aberration is most noticeable include high-contrast situations. For instance, photographing a dark object silhouetted against a bright background, such as a black power line against a brilliant white sky, or tree branches against an overcast sky, often reveals pronounced color fringing. Furthermore, bright, concentrated light sources against a dark backdrop, like streetlights or neon signs in night photography, tend to exacerbate the effect, making halos and glare far more prominent. If you observe a general lack of sharpness or a subtle smearing of colors, especially towards the periphery of your image, chromatic aberration might be the underlying cause.
Strategies to Conquer Color Fringing: Prevention and Correction
Fortunately, there are several effective strategies, both in lens design and post-processing, that photographers can employ to minimize or eliminate the detrimental effects of chromatic aberration.
Lens Design & Optical Solutions
The most robust defense against chromatic aberration begins with lens engineering. Optical designers employ specialized glass elements and configurations to counteract dispersion.
- Achromatic and Apochromatic Lenses: Basic lenses often use “achromatic doublets,” which combine two different types of glass (like crown and flint glass) with opposing dispersion properties. This helps to bring two specific wavelengths of light (typically red and blue) to a common focus, significantly reducing CA. For even better correction, “apochromatic” (APO) lenses are designed to focus three wavelengths (red, green, and blue) at the same point, offering superior color accuracy and sharpness.
- Low Dispersion (LD) and Extra-Low Dispersion (ED) Glass: Many modern lenses incorporate special glass elements, often referred to as LD, ED, or fluorite elements, which have extremely low dispersion properties. These materials cause light to bend less dramatically and more uniformly across the color spectrum, thus reducing the severity of chromatic aberration.
- Aspherical Lens Elements: While primarily used to correct spherical aberration, aspherical elements can also contribute to reducing chromatic aberration by helping to focus light rays more uniformly, especially at the outer edges of the lens where lateral CA is most problematic.
- Stopping Down Your Aperture: As mentioned, reducing your lens’s aperture (using a higher f-number) can lessen the appearance of axial chromatic aberration by increasing the depth of field. This essentially makes the slightly different focal points for each color fall within an acceptable range of sharpness, though it doesn’t fundamentally eliminate the color separation.
Post-Processing Techniques
For images already affected by chromatic aberration, powerful digital editing tools offer excellent corrective capabilities, particularly for lateral CA.
- Dedicated Lens Correction Profiles: Most modern photo editing software, such as Adobe Lightroom, Photoshop, and Capture One, include built-in lens correction profiles. These profiles automatically detect and correct various lens distortions, including chromatic aberration, based on the specific lens used. Applying these profiles is often the first and most effective step in post-processing.
- Manual Chromatic Aberration Removal Tools: If a lens profile isn’t available or doesn’t fully resolve the issue, these software packages also provide manual sliders or checkboxes specifically for removing chromatic aberration. These tools target and eliminate the color fringes by shifting or desaturating the problematic hues (e.g., purple or green) at the edges of objects. Lateral CA is generally easier to correct in post-processing because it affects the magnification of colors, which can be computationally undone. Axial CA, involving different focal planes, is harder to fully rectify digitally but can be minimized.
- Desaturation of Fringe Colors: In some stubborn cases, selectively desaturating the specific colors causing the fringes (e.g., purples or greens) can help to make them disappear. This should be done carefully to avoid desaturating legitimate colors within the image.
Beyond Photography: Chromatic Aberration in Other Optics
While most commonly discussed in photography, chromatic aberration is a fundamental challenge across various optical systems. In eyeglasses, for example, it can cause wearers to perceive color fringes or a general lack of sharpness when looking through the edges of their lenses, particularly in cheaper designs. Similarly, in telescopes and microscopes, chromatic aberration can severely limit resolution and image clarity, making it difficult for astronomers to observe distant celestial bodies or for scientists to analyze microscopic structures with precision. Advanced optical designs, including the use of multiple lens elements made from different types of glass, are essential in these fields to achieve high-fidelity imaging.
Conclusion
Chromatic aberration, with its characteristic blurry, color-fringed edges, is a ubiquitous optical phenomenon stemming from the physics of light dispersion through a lens. Whether it’s the widespread blur of axial CA or the distinct halos of lateral CA, this distortion can detract significantly from image quality. However, armed with an understanding of its causes and equipped with the right techniques, photographers and optical users can effectively combat it. By selecting quality lenses designed with low-dispersion elements and utilizing powerful post-processing tools, you can ensure your visual captures remain sharp, clear, and true to the vibrant world you’re trying to portray. Don’t let chromatic aberration diminish your vision; take control and master this optical challenge. What steps will you take to ensure your next shot is free from unwanted color fringes?
Frequently Asked Questions
Is chromatic aberration always bad for an image?
While generally considered an imperfection, the impact of chromatic aberration varies. Mild CA might be unnoticeable or easily correctable, especially for casual viewing or smaller prints. However, in professional contexts, for large prints, or when high sharpness and color accuracy are critical, it can significantly degrade image quality and is almost always undesirable.
Can chromatic aberration be completely removed from a photo?
In many cases, transverse (lateral) chromatic aberration can be almost entirely removed using post-processing software, particularly with dedicated lens correction profiles. Axial (longitudinal) chromatic aberration is more challenging to remove completely in post-processing because it relates to focus planes, but its visibility can often be significantly reduced.
What kind of lenses are best for reducing chromatic aberration?
Lenses designed with “apochromatic” (APO) correction, or those incorporating “Extra-low Dispersion” (ED), “Super ED,” or “Fluorite” glass elements, are specifically engineered to minimize chromatic aberration. These specialized optics ensure that different wavelengths of light converge more accurately, resulting in much cleaner, sharper images with minimal color fringing.
Does aperture affect chromatic aberration?
Yes, but primarily axial (longitudinal) chromatic aberration. Stopping down your lens (using a smaller aperture, e.g., f/8 instead of f/2.8) can reduce the appearance of axial CA by increasing the depth of field, making the slightly different focal points of various colors less noticeable. However, transverse (lateral) chromatic aberration is largely unaffected by aperture changes.