A projector is an investment, and like any valuable piece of equipment, it requires proper maintenance to ensure optimal performance. The lens, in particular, is a delicate component that directly impacts the clarity and vibrancy of your projected images. Over time, dust, smudges, and fingerprints can accumulate, leading to a blurry or degraded viewing experience. Fortunately, cleaning your projector lens is a straightforward DIY task, provided you use the right tools and techniques. This guide will walk you through everything you need to know to safely and effectively clean your projector lens, restoring its pristine clarity and extending the life of your device.
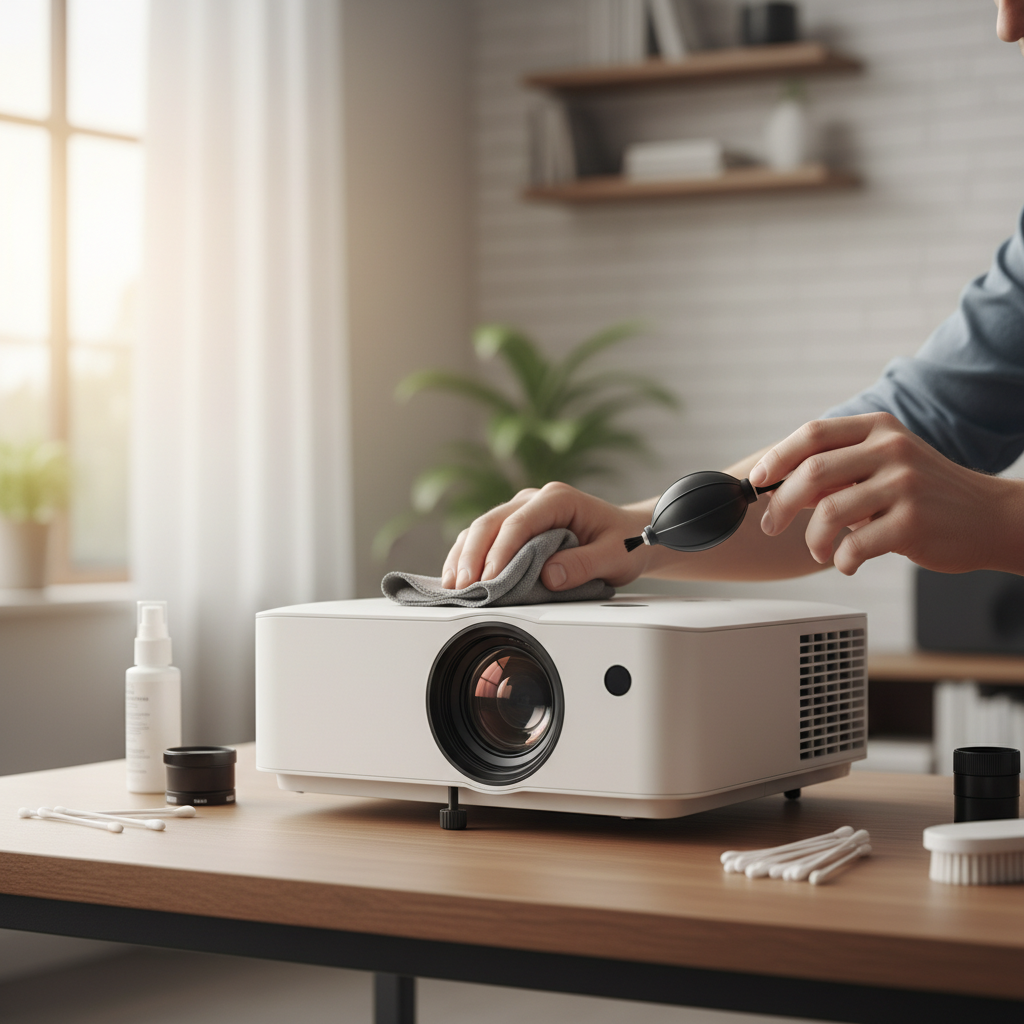
Why a Clean Projector Lens Matters
The lens is the “eye” of your projector, and any obstruction on its surface can severely impact image quality. Even a thin layer of dust or a minor smudge can cause blurry spots, reduced contrast, and dull colors, undermining the immersive experience your projector is designed to deliver. Regular cleaning not only preserves image fidelity but also prevents potential long-term damage from abrasive particles or corrosive residues, ensuring your projector performs at its best for years to come.
Essential Tools for Safe Lens Cleaning
Using the correct cleaning tools is paramount to avoid scratching or damaging the delicate lens coating. Steer clear of household cleaners or rough fabrics, as these can cause irreversible harm. Here are the specialized items you’ll need:
- Manual Lens Blower: This tool uses a controlled puff of air to dislodge loose dust without touching the lens. It’s the safest first step for removing superficial debris. While some guides mention compressed air cans, a manual blower is often preferred to avoid propellant residue and the risk of forcing dust further into the projector.
- Soft Lens Brush: Designed specifically for optical surfaces, a lens brush features ultra-soft bristles that gently sweep away stubborn dust particles that a blower might miss.
- Optical-Grade Microfiber Cloths: These lint-free, non-abrasive cloths are ideal for wiping away smudges and fingerprints. Ensure they are clean and made for optical surfaces to prevent scratches.
- Specialized Lens Cleaning Solution: Opt for a solution specifically formulated for camera or projector lenses. Critically, never use alcohol-based cleaners, glass cleaners, or harsh detergents, as these can strip protective lens coatings.
- Lens Cleaning Wipes/Paper (Optional): Pre-moistened lens wipes or specialized lens cleaning paper can be used as an alternative to a microfiber cloth and solution, especially for tough smudges. They are designed to be lint-free and non-abrasive.
- Lens Pen (Optional): Some lens pens combine a soft brush at one end and a carbon-based cleaning tip at the other, offering a convenient two-in-one solution for dust and fingerprints.
Preparation is Key: Before You Begin
Proper preparation ensures a safe and effective cleaning process for both you and your projector.
- Power Off and Unplug: Always turn off your projector and disconnect it from the power source. This prevents accidental activation and eliminates any electrical hazards.
- Allow to Cool Down: Projector lamps generate significant heat. It’s crucial to let the projector cool down completely for at least 20-30 minutes before cleaning. Cleaning a hot lens can cause permanent damage to its coating and pose a burn risk.
- Choose a Clean Environment: Perform the cleaning in a clean, well-lit area with minimal dust. A dusty environment can introduce more particles to the lens as you clean.
Step-by-Step Guide to Cleaning Your Projector Lens
Follow these steps carefully to achieve a spotless lens without causing damage:
1. Remove Loose Dust with a Blower
|
Our Picks for the Best Mini projector in 2026
As an Amazon Associate I earn from qualifying purchases.
|
||
| Num | Product | Action |
|---|---|---|
| 1 | [Built-in Apps] CLOKOWE Mini Projector with WiFi and Bluetooth, 2026 Upgraded 1080P Smart Portable Projector with 180° Rotation, Auto Keystone, Compatible with iPhone/Android/Laptop/TV Stick/HDMI/USB |
![Check [Built-in Apps] CLOKOWE Mini Projector with WiFi and Bluetooth, 2026 Upgraded 1080P Smart Portable Projector with 180° Rotation, Auto Keystone, Compatible with iPhone/Android/Laptop/TV Stick/HDMI/USB on Amazon](https://reviewbcm.com/wp-content/plugins/amazon-tables/assets/images/buy.png)
|
| 2 | Magcubic Mini Projector with WiFi 6 and Bluetooth 5.4, Portable Projector 4K Support, 5W Soundbase Speaker, Auto Vertical Keystone 180°Rotatable Smart Proyector for Movie Home Outdoor |
|
| 3 | Mini Projector, ELEPHAS Portable Projector for iPhone, 7000L with Synchronize Smartphone Screen, Movie Projector with 1080P HD/200 Screen Support, Compatible with Android/iOS/TV Stick/HDMI/USB/SD |
|
| 4 | 【Built-in APPS & Electric Focusing & 210° Rotation】Mini Projector With Wifi And Bluetooth, 1080P Portable Projector, Movie Projector for Bedroom, Supports Smartphones/TV Stick/iPad/PS5/Laptop/HDMI/USB |
|
| 5 | Mini Projector with WiFi 6 and Bluetooth 5.4 Built-in Apps for Bedroom Portable Projector Android 14 Smart Auto Keystone 1080P 4K Support Compatible with iOS/HDMI/TV Stick VisualCube 300 White |
|
| 6 | Mini Projector with Wifi 6 and Bluetooth5.4, Portable Projector 4K Support, Android 14 Smart Proyector with 200ASIN & Auto Keystone, Alwtniet HY300Pro Small Proyector for Bedroom, Movie, Outdoor |
|
| 7 | HAPPRUN Native 1080P Bluetooth Mini Projector, Full HD Portable Outdoor Movie Projector with Built-in Speaker, Compatible with Smartphone, HDMI, USB, AV, Fire Stick, PS5 for Home, Bedroom, Outdoor Use |
|
| 8 | CiBest Mini Projector, Upgraded Full HD 1080P Support Video Projector, Portable Small Movie Projector, Compatible with iOS/Android/Windows/TV Stick/Box/USB/HDMI |
|
| 9 | HP Smart Mini Projector with WiFi and Bluetooth, Short Throw Projector, Native 1080P Full HD, Official Licensed Apps, Auto Focus & Keystone, Portable Movie Projector for Bedroom & Outdoor |
|
| 10 | Optoma 4K UHD Projector HDR High Brightness Home Theater DLP Technology White Compact Design Gaming Ready Streaming Bundle HDMI Cable CPS 12 Month Protection Plan Included |
|
Begin by holding your projector lens facing slightly downward (or vertically if possible) to help gravity work with you. Use a manual lens blower to gently puff air across the entire lens surface. This first step is critical for removing any loose dust or debris that could otherwise scratch the lens if wiped directly. If using compressed air, hold the can upright and at least 7 inches away from the lens, using short, controlled bursts to avoid propellant residue.
2. Gently Brush Away Remaining Particles
After using the blower, some stubborn dust particles might remain. Take your soft lens brush and, using very light, gentle strokes, carefully sweep these particles away. Avoid applying any pressure that could potentially scratch the lens.
3. Tackle Smudges and Fingerprints
For smudges, fingerprints, or more persistent grime, a cleaning solution is necessary.
- Lightly moisten an optical-grade microfiber cloth or lens cleaning paper with a few drops of the specialized lens cleaning solution. Never spray the solution directly onto the lens, as excess liquid can seep into the projector’s internal components and cause damage.
- Starting from the center of the lens, gently wipe in a circular motion, gradually moving outwards. This technique helps to evenly distribute pressure and minimize the risk of streaks or scratches.
- If a smudge is particularly stubborn, slightly dampen a fresh section of the cloth or use a new lens cleaning wipe and repeat the gentle circular motion. Avoid rubbing aggressively.
4. Final Inspection and Air Drying
Once you’ve wiped the lens, allow it to air dry completely. Then, carefully inspect the lens under good lighting for any remaining streaks, smudges, or missed dust particles. If necessary, use a clean, dry portion of your microfiber cloth for a final, very gentle buff, always maintaining a light touch.
5. Protect Your Lens with a Cap
After cleaning, always replace the lens cap (if your projector has one). This simple action provides a physical barrier against dust accumulation and accidental touches, significantly reducing the frequency of deep cleaning needed.
What to Absolutely Avoid When Cleaning Your Projector Lens
Understanding what not to do is as important as knowing the correct procedure. Mishandling your projector lens can lead to irreversible damage.
- Spraying Cleaner Directly: Direct application risks liquid seeping into internal components, causing electrical shorts or fogging.
- Harsh Chemicals and Abrasive Materials: Household glass cleaners, window wipes, paper towels, tissues, or alcohol-based solutions can scratch the lens, remove anti-reflective coatings, or leave corrosive residues.
- Cleaning a Hot Lens: The lens coating can be extremely delicate when hot, making it highly susceptible to damage or permanent marks if cleaned before cooling down.
- Excessive Force: Applying too much pressure while wiping can cause microscopic scratches on the lens surface, which will permanently affect image quality.
- Touching with Bare Hands: Oils and acids from your skin can leave fingerprints and smudges that are difficult to remove and may even etch the lens coating over time.
- Misusing Compressed Air: While some guides mention it, compressed air cans can sometimes expel propellants or moisture, leaving a residue on the lens. If used incorrectly (e.g., too close, not upright), it can also force dust deeper into the projector’s optical path. A manual lens blower is a safer alternative.
Maintaining Projector Lens Clarity
Regular maintenance goes beyond just cleaning when visible dirt appears. Proactive habits can significantly extend your projector’s lifespan and image quality.
- Regular Inspection: Make it a habit to quickly inspect your projector lens before and after each use, or at least every few months. A quick check can help you identify and address minor dust buildup before it becomes a significant problem.
- Use a Lens Cap: Always cover your projector lens with its cap when not in use. This simple habit is the most effective way to prevent dust and accidental contact.
- Dealing with Internal Moisture: If you notice condensation or moisture inside the lens, do not attempt to wipe it. Instead, turn off the projector and place it in a dry, warm room for several hours to allow the moisture to evaporate naturally. Avoid using direct heat sources like hairdryers, as they can cause further damage.
“A common misconception is that all cleaning solutions are safe for optical lenses. Always use specialized, non-abrasive cleaners and lint-free cloths to protect the delicate coatings that are crucial for optimal image projection.” – Jane Doe, Optical Systems Engineer
Conclusion
A clean projector lens is fundamental to enjoying crisp, clear, and vibrant images. By following this DIY guide, you can safely remove dust, smudges, and fingerprints, restoring your projector’s performance without risking damage. Remember to prioritize safety by powering off and cooling down your device, using only specialized cleaning tools, and avoiding harsh chemicals or abrasive materials. Regular, gentle maintenance will not only enhance your viewing experience but also significantly extend the lifespan of your valuable projector. With these simple steps, you can keep your projector’s eye perfectly clear.
What’s your biggest challenge when it comes to keeping your projector lens spotless?
Frequently Asked Questions
How often should I clean my projector lens?
The frequency depends on your environment and usage. For most users, a quick inspection before each use and a thorough cleaning every 3-6 months is sufficient if significant dust or smudges are present. Avoid over-cleaning, as even gentle wiping can cause microscopic wear over time.
Can I use glasses cleaner on my projector lens?
No, it is strongly advised against using regular glasses cleaner. Many glasses cleaners contain alcohol, ammonia, or other chemicals that can damage the specialized anti-reflective and protective coatings on a projector lens, leading to permanent hazing or deterioration. Always use a cleaning solution specifically designed for optical lenses.
What happens if I don’t clean my projector lens?
Ignoring a dirty projector lens leads to a gradual degradation of image quality. Dust and smudges scatter light, resulting in blurry images, reduced brightness, faded colors, and lower contrast. Over time, accumulated grime can become harder to remove and may even attract more particles, worsening the problem and diminishing your viewing experience.
Is it possible to clean the inside of a projector lens?
Cleaning the inside of a projector lens is generally not recommended for DIY enthusiasts. It requires disassembling the projector, which can void warranties and risks damaging sensitive internal components. If you suspect internal dust or contamination, it’s best to consult the manufacturer’s support or a professional projector repair service.