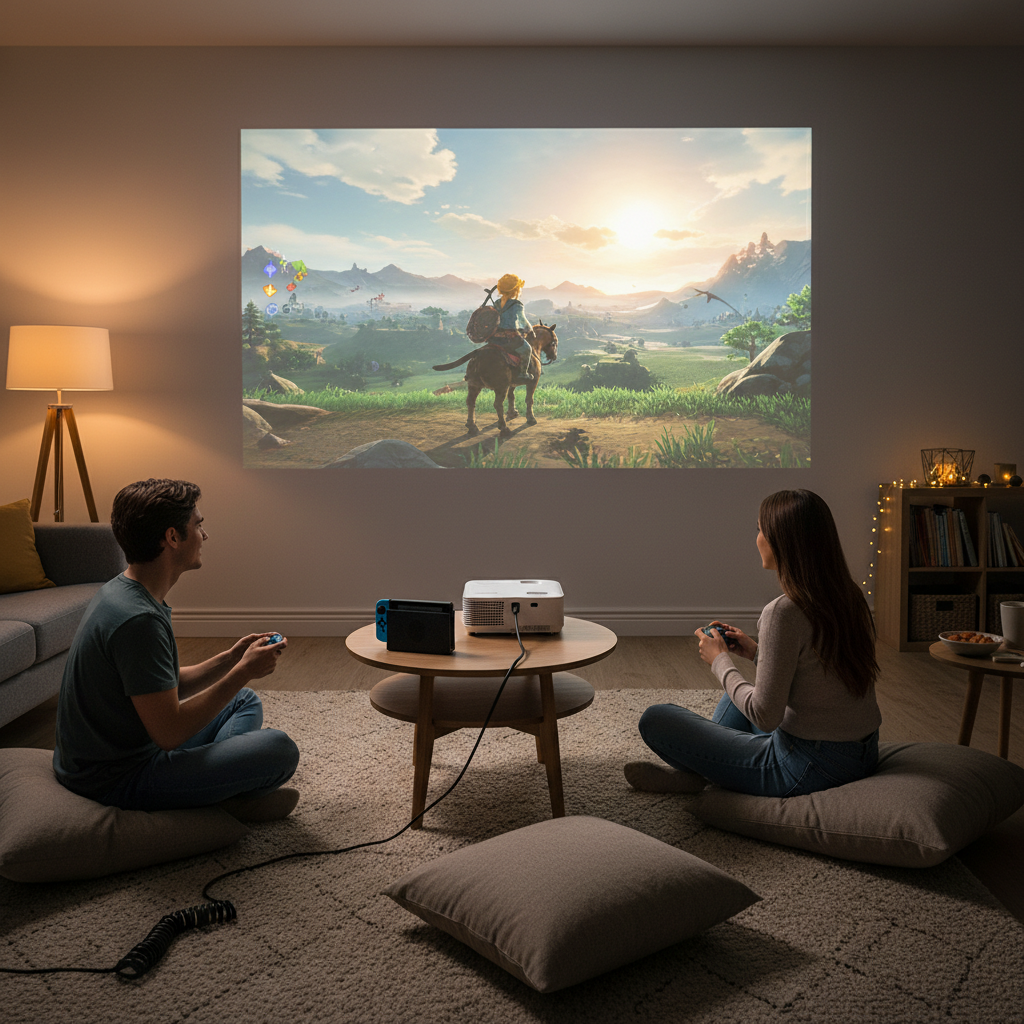
Have you ever dreamt of seeing your favorite Nintendo Switch adventures explode across a massive screen, turning your living room into an epic gaming arena? Connecting your Nintendo Switch to a projector can transform your gaming sessions, offering an immersive experience that a television simply can’t match. Forget squinting at a small display; get ready to enjoy Link’s Hyrule or Mario’s Mushroom Kingdom in glorious, larger-than-life detail. This guide will walk you through every step of the process, ensuring a seamless setup from console to colossal display.
The Essentials: What You’ll Need
Before diving into the setup, gather the necessary equipment to ensure a smooth connection. Having everything on hand will make the process quick and hassle-free.
- Nintendo Switch Console (Standard or OLED Model): The main event, of course! Remember, the Nintendo Switch Lite does not support TV mode and therefore cannot connect to a projector via the dock.
- Nintendo Switch Dock: This crucial accessory provides the necessary output ports to connect your console to an external display.
- HDMI Cable: A standard HDMI cable is required to transmit both audio and video signals from the Switch dock to your projector.
- Nintendo Switch AC Adapter: Powering the dock and charging your console simultaneously, this is essential for stable output.
- Projector with HDMI Input: Your chosen projector must have at least one HDMI input port to receive the signal from the Switch.
- Power Outlets: You’ll need at least two available power outlets for your projector and the Switch dock.
- (Optional) External Speakers: While many projectors have built-in speakers, external audio devices can significantly enhance your gaming sound experience.
Step-by-Step Guide to Connecting Your Nintendo Switch to a Projector
Connecting your Nintendo Switch to a projector is a straightforward process that takes just a few minutes. Follow these steps to get your big-screen gaming adventure started.
Step 1: Prepare Your Devices
|
Our Picks for the Best Mini projector in 2026
As an Amazon Associate I earn from qualifying purchases.
|
||
| Num | Product | Action |
|---|---|---|
| 1 | Mini Projector, ELEPHAS Portable Projector for iPhone, 7000L with Synchronize Smartphone Screen, Movie Projector with 1080P HD/200 Screen Support, Compatible with Android/iOS/TV Stick/HDMI/USB/SD |

|
| 2 | Optoma 4K UHD Projector HDR High Brightness Home Theater DLP Technology White Compact Design Gaming Ready Streaming Bundle HDMI Cable CPS 12 Month Protection Plan Included |
|
| 3 | HP Smart Mini Projector with WiFi and Bluetooth, Short Throw Projector, Native 1080P Full HD, Official Licensed Apps, Auto Focus & Keystone, Portable Movie Projector for Bedroom & Outdoor |
|
| 4 | Mini Projector with WiFi 6 and Bluetooth 5.4 Built-in Apps for Bedroom Portable Projector Android 14 Smart Auto Keystone 1080P 4K Support Compatible with iOS/HDMI/TV Stick VisualCube 300 White |
|
| 5 | [Built-in Apps] CLOKOWE Mini Projector with WiFi and Bluetooth, 2026 Upgraded 1080P Smart Portable Projector with 180° Rotation, Auto Keystone, Compatible with iPhone/Android/Laptop/TV Stick/HDMI/USB |
|
| 6 | CiBest Mini Projector, Upgraded Full HD 1080P Support Video Projector, Portable Small Movie Projector, Compatible with iOS/Android/Windows/TV Stick/Box/USB/HDMI |
|
| 7 | Mini Projector with Wifi 6 and Bluetooth5.4, Portable Projector 4K Support, Android 14 Smart Proyector with 200ASIN & Auto Keystone, Alwtniet HY300Pro Small Proyector for Bedroom, Movie, Outdoor |
|
| 8 | HAPPRUN Native 1080P Bluetooth Mini Projector, Full HD Portable Outdoor Movie Projector with Built-in Speaker, Compatible with Smartphone, HDMI, USB, AV, Fire Stick, PS5 for Home, Bedroom, Outdoor Use |
|
| 9 | 【Built-in APPS & Electric Focusing & 210° Rotation】Mini Projector With Wifi And Bluetooth, 1080P Portable Projector, Movie Projector for Bedroom, Supports Smartphones/TV Stick/iPad/PS5/Laptop/HDMI/USB |
|
| 10 | Magcubic Mini Projector with WiFi 6 and Bluetooth 5.4, Portable Projector 4K Support, 5W Soundbase Speaker, Auto Vertical Keystone 180°Rotatable Smart Proyector for Movie Home Outdoor |
|
Begin by ensuring both your Nintendo Switch console and your projector are powered off. This prevents any potential electrical issues during setup and allows for a clean connection. Place your Switch dock near your projector or where your HDMI cable can comfortably reach both devices.
Step 2: Power Up the Switch Dock
Locate the AC adapter provided with your Nintendo Switch. Plug the small, rectangular end of the AC adapter into the power input port on the back of the Nintendo Switch dock. Then, connect the other end of the adapter to a reliable power outlet. The dock needs its own power supply to function correctly and output video.
Step 3: Connect the HDMI Cable
Next, take one end of your HDMI cable and plug it firmly into the HDMI-out port located on the back of the Nintendo Switch dock. Take the opposite end of the HDMI cable and insert it into an available HDMI input port on your projector. Make sure both connections are secure to prevent signal drops.
Step 4: Dock Your Nintendo Switch Console
With the power and HDMI connections ready, gently slide your Nintendo Switch console into the dock. Ensure the console is oriented correctly, with the screen facing away from you and the USB-C connector at the bottom of the Switch aligning with the port inside the dock. Push down slightly until it sits snugly. The console should automatically power on or indicate a connection.
Step 5: Select the Right Input on Your Projector
Now, power on your projector. Using your projector’s remote control or onboard buttons, navigate to the input or source menu. Select the HDMI input channel that corresponds to the port where you connected the Nintendo Switch dock. For example, if you used “HDMI 1” on your projector, select “HDMI 1” from the source menu.
Step 6: Power On and Verify Connection
Finally, ensure your Nintendo Switch console is powered on (it usually powers on automatically when docked). Within moments, you should see the Nintendo Switch home screen or logo displayed on your projector. Verify that both audio and video are transmitting smoothly. If everything looks good, you’re ready to game on the big screen!
Optimizing Your Projector Gaming Experience
Connecting is just the first step. To truly elevate your gaming, consider these optimizations for your projector setup.
Projector Settings
Delving into your projector’s settings can fine-tune your visual experience. Look for options related to picture mode; many projectors offer specific “Game” modes that minimize input lag by bypassing certain image processing. Adjust brightness, contrast, and color temperature to suit your room’s lighting conditions and personal preference. Experiment with aspect ratio settings to ensure your Switch’s display fills the screen correctly without stretching or cropping.
Audio Setup
While most projectors have built-in speakers, their quality can vary. For a truly immersive experience, consider connecting external speakers. Many projectors have a 3.5mm audio output jack, allowing you to connect headphones or external speakers. Alternatively, some projectors offer Bluetooth connectivity, letting you pair wireless speakers or soundbars directly for rich, dynamic sound.
Room Environment
The projection environment significantly impacts image quality. A darker room will yield the best contrast and color vibrancy. If possible, use blackout curtains to minimize ambient light. A dedicated projector screen will provide a smoother, more uniform surface for your projected image, resulting in a sharper and more professional display than a plain wall.
Troubleshooting Common Connection Issues
Encountering a snag? Don’t worry, many common issues have simple solutions.
No Signal/Blank Screen
If your projector displays “No Signal” or remains blank, first double-check all your cable connections. Ensure the HDMI cable is securely plugged into both the Switch dock and the projector. Confirm that the projector is set to the correct HDMI input source. Try restarting both your Switch and the projector. Sometimes, simply reseating the Switch console in its dock can resolve the issue.
No Audio
If you have a picture but no sound, check your projector’s volume settings and ensure it’s not muted. If using external speakers, confirm they are powered on and correctly connected, and that your projector’s audio output is configured to send sound to them. The HDMI cable carries both video and audio, so a good HDMI connection usually means audio should transmit as well.
Image Quality Issues
Should the image appear blurry, distorted, or have incorrect colors, start by adjusting your projector’s focus and keystone correction. Focus ensures sharpness, while keystone correction squares up the image if the projector isn’t perfectly perpendicular to the screen. If colors are off, reset your projector’s picture settings to default and then make subtle adjustments. Ensure your projector is capable of displaying the Switch’s native output resolution (up to 1080p in TV mode) for the best clarity.
Why Game on a Projector? The Big Screen Advantage
Gaming on a projector isn’t just about a bigger picture; it’s about a fundamentally different experience that elevates your playtime.
“Projector gaming takes immersion to another level. When Mario Kart races fill an entire wall, or Hyrule stretches across a vast canvas, you truly feel part of the game.” – Jordan Lee, Gaming Tech Analyst
The sheer scale of the projected image creates a more immersive experience, drawing you deeper into game worlds. Imagine exploring vast landscapes or engaging in intense battles where characters are life-sized. It’s also fantastic for multiplayer fun, allowing everyone to easily see the action without crowding around a small TV. Plus, the portability of many projectors makes them perfect for gaming nights at friends’ houses or transforming any room into an instant arcade.
Conclusion
Connecting your Nintendo Switch to a projector is a simple yet revolutionary upgrade for any gamer. With just a few cables and clicks, you can unlock a truly cinematic gaming experience, bringing your favorite titles to life on a grand scale. From the initial setup to fine-tuning your settings and troubleshooting common hiccups, you now have all the knowledge to transform your gaming space. Dive into vast worlds, compete with friends, and rediscover the magic of your Nintendo Switch, all on a breathtakingly large screen. Are you ready to level up your gaming adventures?
Frequently Asked Questions
Can I connect my Nintendo Switch to a projector wirelessly?
The Nintendo Switch does not natively support wireless video output to a projector. However, you can use third-party wireless HDMI transmitters and receivers. These devices connect to the Switch dock’s HDMI output and your projector’s HDMI input, allowing for a cable-free video signal transmission. Ensure compatibility and check for potential input lag with such adapters.
Do I need a special HDMI cable for my Nintendo Switch?
No, a standard HDMI cable is perfectly sufficient for connecting your Nintendo Switch to a projector. There’s no need for specialized or high-end cables unless you are dealing with extremely long cable runs (over 15-20 feet) or seeking specific certifications for future-proofing, which isn’t typically necessary for the Switch’s output.
What resolution can I expect when connecting my Switch to a projector?
When docked, the Nintendo Switch outputs video at up to 1080p resolution. If your projector supports 1080p, you can expect a full HD image. If your projector has a lower native resolution (e.g., 720p or 480p), the Switch’s signal will be downscaled to match the projector’s capabilities.