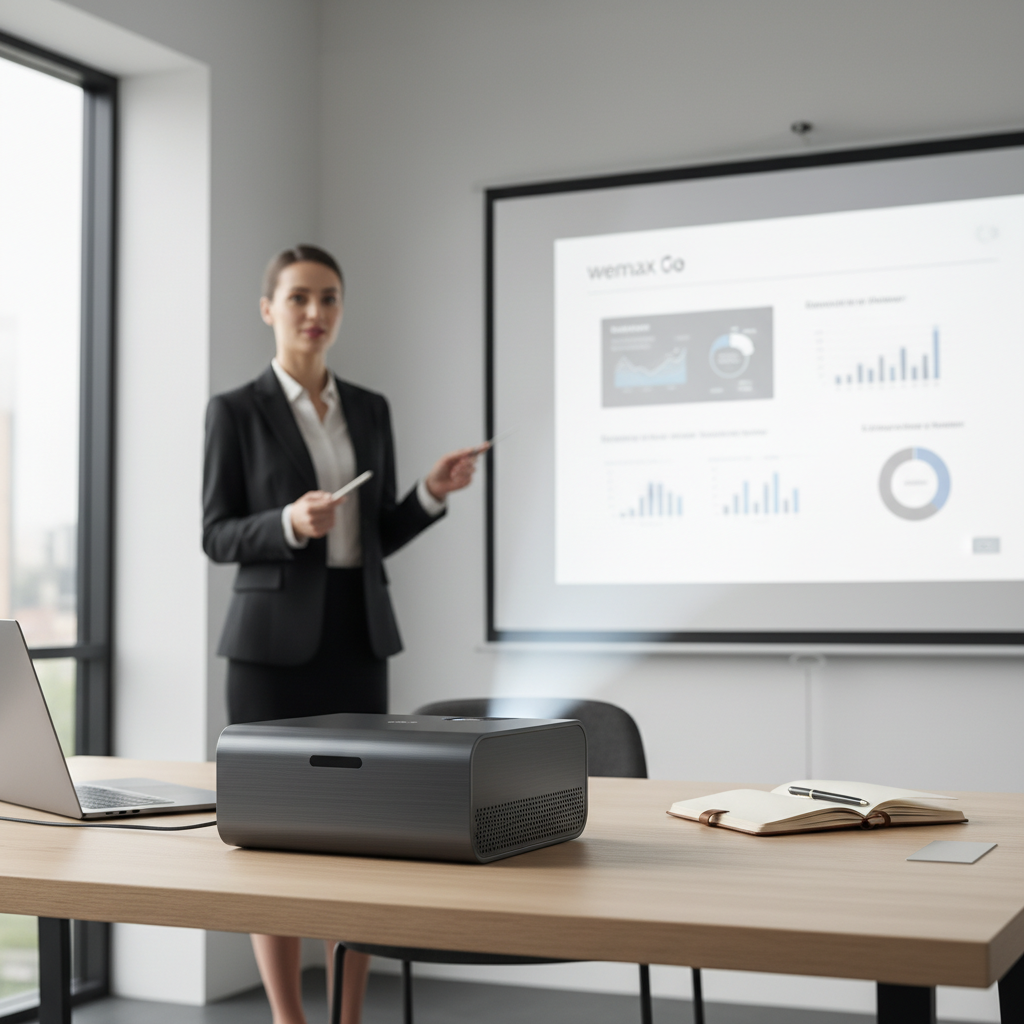
In today’s fast-paced world, multitasking often feels like a necessity, and a single screen can quickly become a bottleneck for productivity and entertainment. Imagine expanding your digital canvas to an immense size, making presentations more impactful, cinematic experiences more immersive, and workflows more fluid. The good news is, you don’t always need to invest in another bulky monitor. A projector can serve as an incredibly versatile second display, offering a colossal viewing area that standard screens simply cannot match. This guide will walk you through everything you need to know to seamlessly integrate a projector into your setup as an extended monitor.
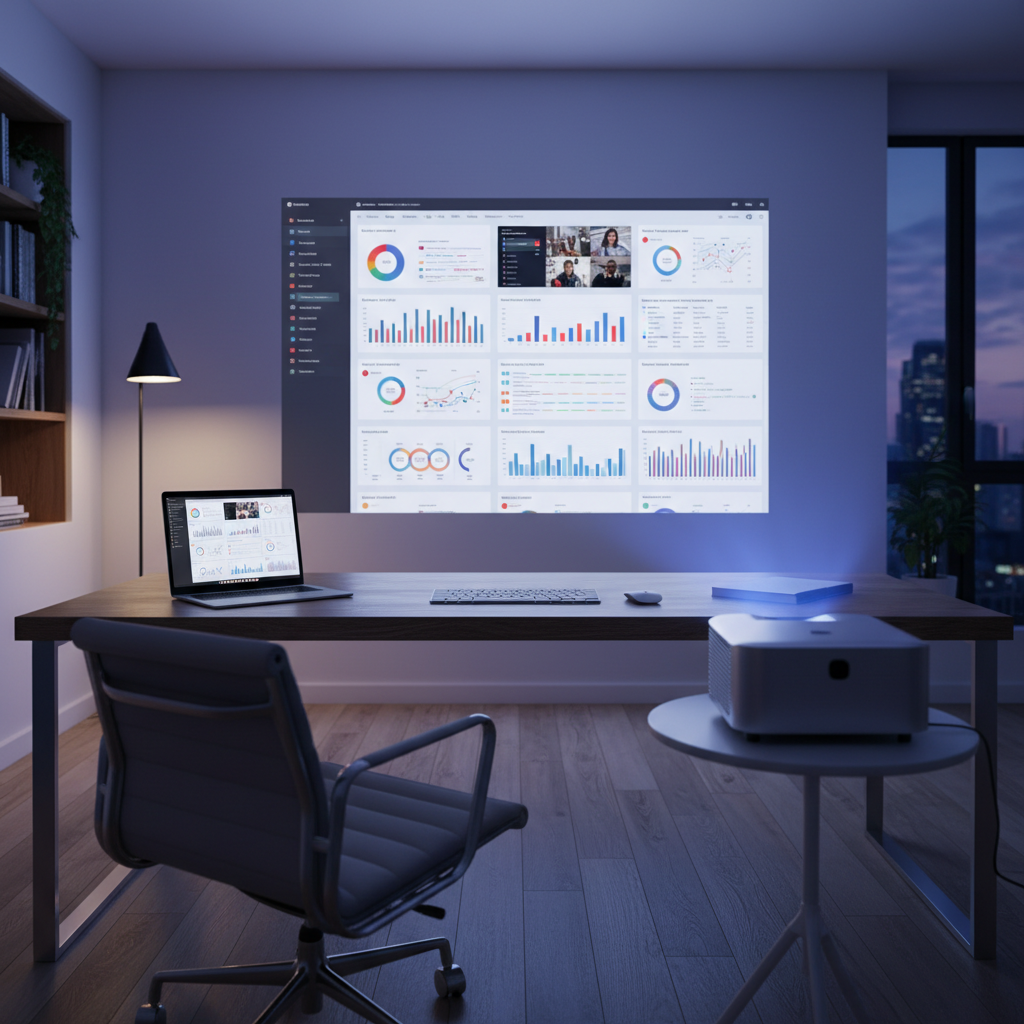
The Benefits of Using a Projector as a Second Monitor
Leveraging a projector as your secondary display opens up a world of possibilities beyond typical monitor setups. The most obvious advantage is the sheer scale it provides. Projectors can cast images onto walls or dedicated screens spanning dozens or even hundreds of inches diagonally, transforming any room into a grand workspace or entertainment hub. This expansive view is perfect for:
- Immersive Entertainment: Imagine watching movies, sports, or playing video games on a truly massive screen, bringing a theater-like experience directly into your home.
- Enhanced Productivity: Designers, architects, or anyone working with large datasets can benefit from spreading out multiple applications across an enormous canvas, seeing more detail and reducing the need for constant window switching.
- Dynamic Presentations: For professionals, a projector offers an unparalleled way to share content with a large audience, allowing you to use your laptop screen for notes while the audience sees the main presentation on the projected display.
- Portability: Many modern mini-projectors are lightweight and compact, making them easy to transport. This means you can create an extended display setup wherever you go, whether it’s a client’s office or a friend’s house.
|
Our Picks for the Best Mini projector in 2026
As an Amazon Associate I earn from qualifying purchases.
|
||
| Num | Product | Action |
|---|---|---|
| 1 | Mini Projector with Wifi 6 and Bluetooth5.4, Portable Projector 4K Support, Android 14 Smart Proyector with 200ASIN & Auto Keystone, Alwtniet HY300Pro Small Proyector for Bedroom, Movie, Outdoor |

|
| 2 | 【Built-in APPS & Electric Focusing & 210° Rotation】Mini Projector With Wifi And Bluetooth, 1080P Portable Projector, Movie Projector for Bedroom, Supports Smartphones/TV Stick/iPad/PS5/Laptop/HDMI/USB |
|
| 3 | Mini Projector with WiFi 6 and Bluetooth 5.4 Built-in Apps for Bedroom Portable Projector Android 14 Smart Auto Keystone 1080P 4K Support Compatible with iOS/HDMI/TV Stick VisualCube 300 White |
|
| 4 | HAPPRUN Native 1080P Bluetooth Mini Projector, Full HD Portable Outdoor Movie Projector with Built-in Speaker, Compatible with Smartphone, HDMI, USB, AV, Fire Stick, PS5 for Home, Bedroom, Outdoor Use |
|
| 5 | HP Smart Mini Projector with WiFi and Bluetooth, Short Throw Projector, Native 1080P Full HD, Official Licensed Apps, Auto Focus & Keystone, Portable Movie Projector for Bedroom & Outdoor |
|
| 6 | Mini Projector, ELEPHAS Portable Projector for iPhone, 7000L with Synchronize Smartphone Screen, Movie Projector with 1080P HD/200 Screen Support, Compatible with Android/iOS/TV Stick/HDMI/USB/SD |
|
| 7 | CiBest Mini Projector, Upgraded Full HD 1080P Support Video Projector, Portable Small Movie Projector, Compatible with iOS/Android/Windows/TV Stick/Box/USB/HDMI |
|
| 8 | Magcubic Mini Projector with WiFi 6 and Bluetooth 5.4, Portable Projector 4K Support, 5W Soundbase Speaker, Auto Vertical Keystone 180°Rotatable Smart Proyector for Movie Home Outdoor |
|
| 9 | [Built-in Apps] CLOKOWE Mini Projector with WiFi and Bluetooth, 2026 Upgraded 1080P Smart Portable Projector with 180° Rotation, Auto Keystone, Compatible with iPhone/Android/Laptop/TV Stick/HDMI/USB |
|
| 10 | Optoma 4K UHD Projector HDR High Brightness Home Theater DLP Technology White Compact Design Gaming Ready Streaming Bundle HDMI Cable CPS 12 Month Protection Plan Included |
|
Key Considerations Before Setting Up
While the allure of a huge screen is strong, a projector as a second monitor comes with its own set of considerations that differ from a traditional monitor. Being aware of these factors will help you optimize your setup and manage expectations.
Ambient Light Sensitivity
Projectors are inherently more sensitive to ambient light than monitors. In brightly lit rooms, projected images can appear washed out, lacking contrast and vibrancy. For the best viewing experience, especially when using a projector for productivity or detailed work, a dim or dark environment is preferable. Solutions like high-gain projector screens or ambient light rejecting (ALR) screens can help mitigate this, but complete darkness will always yield the best results.
Resolution and Image Quality
While projectors offer size, not all can match the crispness of a high-resolution monitor, especially at larger projection sizes. Many affordable projectors offer 720p or 1080p resolution, which is sufficient for many tasks and entertainment. However, for graphic design, detailed text work, or high-definition gaming, ensure your projector supports a resolution that meets your needs. Higher-end projectors now offer 4K, providing incredible detail, but come with a higher price tag.
Heat and Noise Emission
Projectors often generate more heat and noise from their cooling fans than a typical monitor. While modern projectors are becoming quieter, this can still be a factor in a quiet workspace or during critical listening sessions. Consider the projector’s lumen output and fan noise specifications if this is a concern for your environment.
Installation and Adjustment
Setting up a projector involves more than just plugging in a cable. You’ll need to consider optimal placement, focusing, keystone correction, and screen alignment to achieve a perfectly rectangular and clear image. This can take some initial effort, and adjustments may be needed if the projector or screen is moved.
Connecting Your Projector: Wired and Wireless Options
Connecting your projector to your computer is the first step towards expanding your digital workspace. The method you choose will depend on your projector and computer’s available ports, as well as your preference for wired stability or wireless convenience.
Common Wired Connection Types
- HDMI (High-Definition Multimedia Interface): This is the most common and recommended connection for modern projectors and computers, supporting both high-definition video and audio through a single cable.
- VGA (Video Graphics Array): An older analog connection, VGA is still found on many projectors and older computers. It carries only video, so you’ll need a separate audio cable if your projector has built-in speakers you wish to use.
- DisplayPort: Less common on projectors but prevalent on many desktop graphics cards and some laptops, DisplayPort offers high bandwidth for video and audio.
- USB-C / Thunderbolt: Increasingly common on newer laptops, a single USB-C port (especially Thunderbolt enabled) can carry video, audio, data, and even power. You might need a USB-C to HDMI or USB-C to DisplayPort adapter, or a compatible USB-C cable directly.
Pro Tip: For MacBooks, especially newer models, you will almost certainly need a USB-C Digital AV Multiport Adapter or a USB-C to HDMI cable to connect to most projectors.
Wireless Connectivity
For a clutter-free setup, many modern projectors and operating systems support wireless display technologies:
- Miracast (Windows): Windows 10 and 11 devices can connect wirelessly to Miracast-compatible projectors or smart TVs. You can initiate this connection from the “Connect to a wireless display” option in your Windows settings.
- AirPlay (Mac): Apple devices can use AirPlay to mirror or extend their screen wirelessly to an AirPlay-enabled projector or Apple TV. Both devices need to be on the same Wi-Fi network.
Step-by-Step Guide for Windows Users
Using a projector as an extended display on Windows is a straightforward process.
- Physical Connection: Connect your projector to your Windows laptop or desktop using an appropriate cable (HDMI is preferred) or establish a wireless connection via Miracast. Ensure the projector is powered on and set to the correct input source (e.g., HDMI 1, PC).
- Access Display Settings:
- Press the
Windows key + Pshortcut. This will open the “Project” menu on the right side of your screen. - Alternatively, right-click anywhere on your desktop and select “Display settings.”
- Press the
- Choose “Extend” Display Mode:
- In the “Project” menu, select “Extend.” This mode treats your projector as an additional, separate screen, allowing you to drag windows and applications between your primary monitor and the projected display. Avoid “Duplicate” mode if you want a true second monitor experience, as this mirrors your main screen.
- If using the “Display settings” window, scroll down to “Multiple displays” and select “Extend these displays” from the dropdown menu.
- Optimize Display Settings:
- Resolution and Scaling: Within “Display settings,” identify your projector (usually labeled as Display 2). Adjust its “Display resolution” for the best visual clarity. You might need to experiment to find the optimal setting for your projector and projected image size. You can also adjust “Scale” to make text and apps larger or smaller.
- Orientation: If the projected image is upside down or rotated, you can change the “Display orientation” here.
- Arrangement: In the “Display settings” window, you’ll see graphical representations of your monitors. Drag and drop these icons to match the physical arrangement of your laptop and projector. This ensures your mouse cursor moves naturally between screens.
- Audio Output (Optional): If your projector has built-in speakers you want to use, navigate to
Settings > System > Soundand select your projector as the “Output device.”
Step-by-Step Guide for Mac Users
Setting up your Mac with a projector as an extended display is equally simple.
- Physical Connection: Connect your projector to your Mac using an appropriate cable (e.g., USB-C to HDMI adapter and HDMI cable) or establish a wireless AirPlay connection. Turn on the projector and select the correct input source.
- Access Display Settings:
- Click the Apple menu in the top-left corner of your screen.
- Select
System Settings(orSystem Preferenceson older macOS versions), then clickDisplays.
- Configure “Extended Display” Mode:
- In the
Displayswindow, you should see representations of both your Mac’s built-in display and the connected projector. - Ensure the projector is selected. You might see a “Use as:” dropdown menu. Select “Extended display.”
- On older macOS, go to the
Arrangementtab and uncheck the “Mirror Displays” checkbox. Unchecking this enables the extended display mode, making the projector a separate workspace.
- In the
- Arrange and Optimize Displays:
- In the
Arrangementtab (or by dragging the display icons inSystem Settings > Displays), you can drag the projector’s display icon relative to your Mac’s screen to reflect their physical positions. This determines how your mouse moves between the two screens. - Resolution: You can adjust the resolution for the projector by selecting it in the Displays settings. Choose “Default for Display” for the recommended setting or scale it to fit more content.
- In the
Troubleshooting Common Issues
Even with a perfect setup, you might encounter occasional hiccups. Here’s how to address common problems when using a projector as a second monitor.
“No Signal” or Display Not Detected
This is perhaps the most frequent issue.
- Check Cables: Ensure all cables (HDMI, VGA, USB-C) are securely plugged into both your computer and the projector. A loose connection is often the culprit.
- Verify Projector Input Source: Double-check that your projector is set to the correct input source (e.g., HDMI 1, VGA). Cycle through the input options using the projector’s remote or on-device buttons.
- Restart Devices: Sometimes, a simple restart of both your computer and the projector can resolve detection issues.
- Update Display Drivers: Outdated or corrupted graphics drivers can prevent proper display detection. Visit your computer manufacturer’s or graphics card manufacturer’s website to download and install the latest drivers.
- Windows-Specific: Press
Windows key + Pand cycle through the projection modes. If Windows still doesn’t detect it, go toSettings > System > Displayand click the “Detect” button under “Multiple displays.”
Incorrect Resolution or Image Quality
- Adjust Resolution: As mentioned in the setup guides, experiment with different resolutions in your operating system’s display settings until you find one that looks clear and comfortable on the projected screen. Some projectors may not support very high resolutions, leading to a blurry image if the computer outputs beyond its capabilities.
- Check Projector Settings: Many projectors have internal settings for sharpness, contrast, and brightness. Adjust these directly on the projector itself for optimal image quality.
- Cable Quality: A low-quality or excessively long cable can sometimes lead to signal degradation and poor image quality. Try a different, high-quality cable if you suspect this is the issue.
“Your PC Can’t Project to Another Screen” (Windows)
This error typically indicates a driver issue or a problem with the wireless display feature.
- Reinstall/Update Graphics Drivers: This is the most common fix. Uninstall your current graphics driver through Device Manager and then reinstall the latest version from your manufacturer’s website.
- Check Miracast Compatibility: Ensure both your PC and projector (or wireless adapter) fully support Miracast.
- Windows Wireless Display Feature: For wireless projection to another Windows PC, ensure the “Wireless Display” optional feature is installed on the receiving PC (
Settings > System > Projecting to this PC > Optional features).
Tips for an Optimal Extended Display Experience
Maximizing your projector’s potential as a second monitor goes beyond basic connectivity. Consider these tips for a truly seamless and enjoyable experience:
- Control Ambient Lighting: For the best image clarity and contrast, minimize ambient light in the room. Use blackout curtains or schedule your projector use for darker hours.
- Invest in a Good Screen: While projecting directly onto a white wall works, a dedicated projector screen will significantly improve image quality, color accuracy, and overall viewing experience. ALR (Ambient Light Rejecting) screens are particularly beneficial for rooms with some uncontrollable light.
- Calibrate Your Projector: Many projectors offer color calibration settings. Taking the time to fine-tune these can ensure more accurate and vibrant colors, essential for tasks like photo editing or graphic design.
- Optimal Placement: Position your projector correctly, typically perpendicular to the screen, to minimize keystone correction. Excessive keystone correction can distort the image and reduce resolution.
- High-Quality Cables: Always use high-quality, shielded cables, especially for HDMI, to prevent signal loss and interference, which can degrade image quality.
- Consider a Wireless Adapter: Even if your projector isn’t inherently smart, an external wireless display adapter (like a Miracast dongle or Apple TV) can add wireless functionality, offering greater flexibility.
- Manage Display Latency: For fast-paced gaming, some projectors might introduce noticeable input lag. Look for projectors with a “Game Mode” or low input lag specifications if this is a primary use case.
“A projector offers unparalleled flexibility, transforming any wall into a vast digital workspace or entertainment hub. The key is understanding its strengths and limitations to integrate it effectively into your setup.” – Alex Chen, A/V Technology Specialist
Conclusion
Using a projector as a second monitor is an excellent way to expand your digital real estate, offering an immersive and dynamic viewing experience for everything from professional tasks to casual entertainment. While it requires careful consideration of ambient light, resolution, and setup, the benefits of a massive, flexible display often outweigh the minor challenges. By following the step-by-step guides for Windows and Mac, understanding common connection types, and employing the troubleshooting tips, you can unlock a new dimension of productivity and enjoyment. So, why limit yourself to a small screen when a world of expansive possibilities awaits? Have you considered transforming your workspace with a projected second display?
Frequently Asked Questions
Can I use a projector as a permanent second monitor?
Yes, you can use a projector as a permanent second monitor, but it’s important to consider factors like bulb life, heat generation, and fan noise, which might be more pronounced than with a traditional monitor. For consistent daily use, an LED projector with a longer lifespan and lower heat output might be preferable.
Is a projector good for reading text or detailed work?
While projectors offer a large display, their resolution and contrast might not always be as sharp as a high-quality monitor, especially for small text or intricate details. For long periods of reading or precise design work, a dedicated monitor might still be superior. However, for presenting, browsing, or media consumption, projectors excel.
What’s the difference between “Duplicate” and “Extend” display modes?
“Duplicate” (or “Mirror” on Mac) mode shows the exact same content on both your primary screen and the projector. “Extend” mode treats the projector as a separate, additional display, allowing you to have different applications open on each screen, effectively expanding your desktop. For a second monitor experience, “Extend” is usually the preferred choice.
Do I need a special type of projector to use it as a second monitor?
No, most modern projectors with standard video inputs (like HDMI) can function as a second monitor. However, a projector with a good native resolution (720p or 1080p minimum), sufficient brightness (e.g., 2000+ ANSI lumens for general use), and low input lag (if gaming is a priority) will provide a better experience.
Can I connect a projector wirelessly to any computer?
Wireless connection capabilities depend on both your computer and projector. Windows PCs can often connect wirelessly via Miracast, while Macs use AirPlay. For projectors without built-in wireless features, you might need a separate wireless display adapter or dongle that plugs into the projector’s HDMI port.